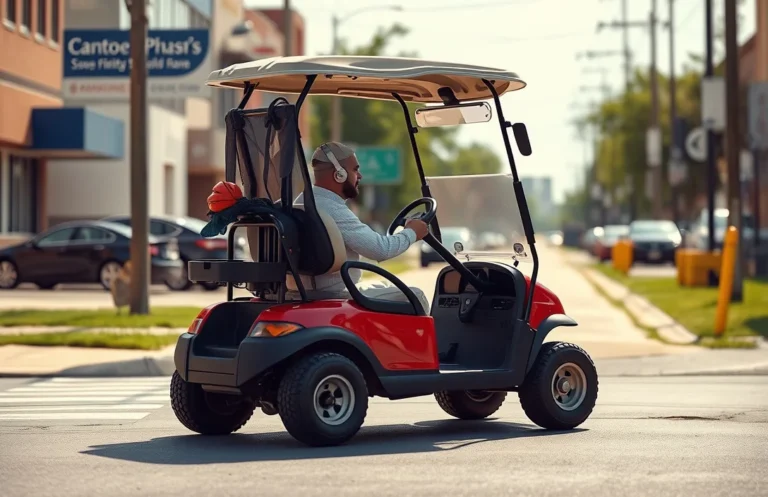
How To Start A Gas Golf Cart?
How to start a gas golf cart? comes down to matching the advice to your situation instead of following a generic checklist. I will focus on the main decision points, the tradeoffs that matter most, and the practical next steps you can use before spending time or money.
Pre-Start Safety Checks

Park the cart on a level, solid surface and apply the parking brake. Put the transmission in Park, remove the key, and verify the engine is cool before touching fuel components. If the cart sits on a slope, place wheel chocks on the downhill side.
| Check | Action | Why it matters |
|---|---|---|
| Parking brake engaged | Apply brake fully; test movement gently | Prevents unexpected movement during start |
| Level surface | Inspect for debris; chock wheels if needed | Stability reduces rollback and tip risk |
| Ventilation | Open area; avoid enclosed spaces | Gas vapors can accumulate and ignite |
| Leaks & spills | Inspect fuel lines and tank; clean spills | Prevents fire and reduces flammable vapor sources |
Gasoline vapors are heavier than air and can travel along surfaces to ignition sources. Work in a ventilated area and keep all flames and sparks away until the engine starts and is confirmed safe.
Inspect Battery & Electricals
Cranking faults usually trace to a weak charge or poor connections. A quick voltage check and visual inspection of terminations can reveal the problem before you touch the starter. If the pack is undercharged or any cable is corroded or loose, the cart will refuse to crank.
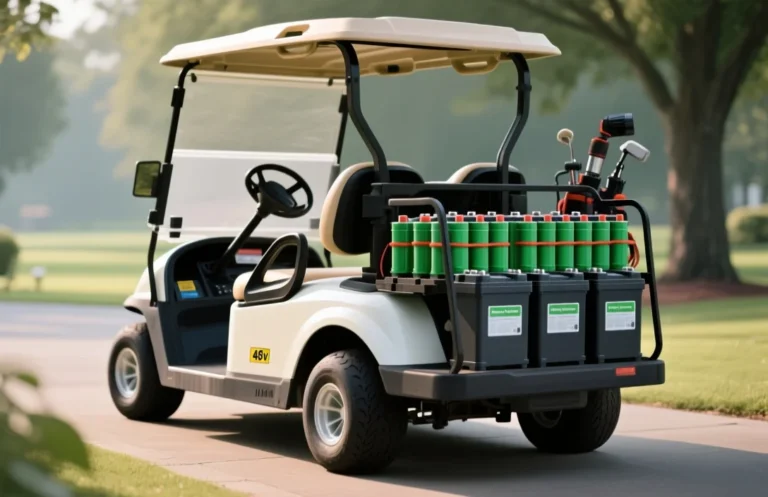
Battery Voltage & Charge: Use a digital multimeter to measure the voltage across the main battery terminals with no load. For a 12V system, a healthy rested battery reads about 12.6V or higher; under 12.0V indicates discharge that should be charged before starting. For larger packs such as 36V or 48V, follow the pack spec and look for a resting reading within the manufacturer’s range before attempting to start. If uncertain, charge with the proper charger and recheck after a cooldown period.
Terminal Cleanliness: Inspect battery terminals for corrosion, greenish residue, or loose clamps. Clean corrosion with a baking soda solution while the system is disconnected, then rinse and dry. Re-tighten clamps to ensure solid metal-to-metal contact and minimize resistance at the connection.
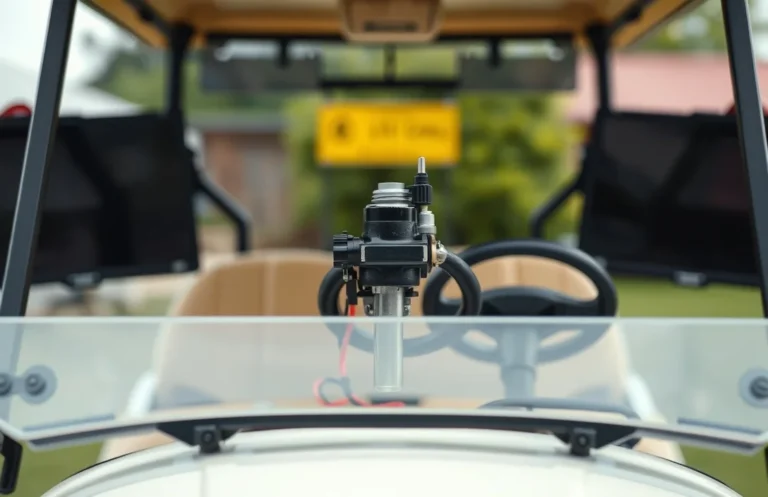
Starter Connections: Inspect the heavy gauge cables from the battery to the starter solenoid and from the solenoid to the starter motor. Look for cracked insulation, corrosion on lugs, or loose fasteners. Clean or replace damaged sections and tighten to manufacturer torque specs to restore reliable current flow.
Fuses & Relays: Check the main fuse block and any starter relay or safety-relay in the circuit. A blown fuse or a relay that no longer clicks when the key is turned can block starting. If you diagnose a faulty relay, replace it rather than attempting a makeshift fix.
| Check | What to look for |
|---|---|
| Voltage | Resting reading within spec for your pack; low under load. |
| Terminals | Clean, tight, no corrosion. |
| Wiring | No frayed insulation; proper routing. |
| Fuses/Relays | No blown fuses; relays click when energized. |
Safety: disconnect the negative terminal before working on wiring to avoid sparks. Wear eye protection and remove metallic jewelry when probing electrical connections.
Fuel System Readiness

Fuel system readiness starts with a clean, adequate supply from the tank to the intake. Verify the tank is at a safe level, gasoline is fresh, and the lines to the carburetor or EFI are secure and free of kinks. A blocked line or old fuel is a frequent starter fault.
Fuel Level & Quality: Keep the tank above a quarter full during use and avoid stale fuel. If the cart has sat idle, drain older fuel and refill with fresh gasoline, or add a fuel stabilizer and run the engine to circulate it. Follow local guidance on ethanol content, since ethanol blends can attract moisture and form deposits that gum up jets or injectors.
Fuel Line Security: Inspect all rubber fuel lines from the tank to the carb or EFI rail. Look for cracks, soft spots, bulges, or loose clamps. Ensure clamps are tight and lines route away from hot surfaces or moving parts to prevent leaks or kinks that starve the engine of fuel.
Carburetor or EFI Check: A carb can gum up from old fuel, blocking jets and starving the engine of fuel. For EFI, verify the fuel rail pressure and listen for injector operation; a clogged injector or dirty rail can mimic a fuel delivery problem. If deposits are suspected, avoid forced disassembly and use manufacturer-approved cleaners or seek professional service.
Primer or Choke Mechanism: The primer bulb or choke must operate smoothly. In a cold start, engage the choke or press the primer according to the manual, then crank and allow the engine to warm with the choke partially closed. If the choke sticks or the primer won’t prime, inspect linkage and seals and replace faulty parts as needed.
Safety note: Gasoline is highly flammable. Work in a well ventilated area away from sparks, and disconnect the spark plug before performing fuel-system work to avoid unintended starts.
| Issue | Likely Cause | Action |
|---|---|---|
| Engine cranks but does not start | Fuel not reaching carb or rail | Check fuel level, inspect line, verify choke/primer |
| Smell of fuel around cart | Leak in line or fitting | Inspect lines, clamps, and fittings; repair or replace as needed |
| Fuel smells old or varnished | Old fuel deposits | Drain and replace fuel; clean carburetor or injectors if required |
Choke, Throttle & Idle
Cold starts require the choke to be engaged until the engine runs smoothly on its own. Ensure the throttle linkage has slight free play so the throttle plate returns fully to idle; a binding or tight linkage makes starting and warm-up rough. Keeping idle within a safe range prevents stalling and reduces chasing symptoms as the engine warms.
Choke, Throttle & Idle quick-reference
| Condition | Choke Position | Throttle Play | Idle Target RPM | Notes |
|---|---|---|---|---|
| Cold start | Fully on, then gradually off | 1/8″ – 1/4″ before throttle opens | 700 – 900 | Open choke gradually as it warms; avoid leaving choke on long. |
| Warm start | Off | Minimal or none | 800 – 1000 | Idle set with engine at operating temperature. |
Safety note: if you feel binding, sticking, or backfiring when adjusting the choke or idle, stop and inspect the linkage, carburetor, and air filter before proceeding.
Step-By-Step Start Procedure

Position Cart & Shifter: Place the golf cart on a level surface and set the parking brake. Confirm the shifter is in Neutral to prevent unintended movement during startup. A level surface and neutral gear reduce stress on the drive train and simplify engagement.
Visual Aids: Start Sequence Diagram shows the order of events from Key On to engine running. Use the diagram as a quick reference during startup and troubleshooting.
Start Sequence Diagram Key On -> Dashboard Awake -> Neutral Confirmed -> Parking Brake Engaged -> Choke/Prime as needed -> Crank -> Engine Starts -> Idle Stabilizes
Common Start Troubleshooting
No Crank or No Click signals the starter circuit isn’t delivering current or the solenoid isn’t engaging. Check battery voltage with a multimeter (12.6V or higher when rested) and inspect all main cables for corrosion, looseness, or poor connections. If voltage dips when you turn the key, the issue is usually a weak battery, damaged cable, or a faulty ignition switch; replace the failing part and recheck.
Beyond that, a clean, methodical approach helps identify related start faults. Start with safety interlocks, then verify fuel delivery, ignition, and any warning indicators that point to controller or sensor problems. If you suspect a flooded carburetor or stuck choke, avoid repeated cranking and allow the engine and fuel system to stabilize before retrying.
Maintenance & Long-Term Care
Reliable starts come from routine maintenance across the starting system: battery health, clean fuel, good spark, fresh oil, and proper belt tension. Establish a seasonal prep checklist to catch wear before it causes failure.
Regular Battery Care: keep terminals clean, corrosion-free, and fully charged so the starter gets enough current when you twist the key.
Fuel System Maintenance: stale fuel and varnish cause hard starts and rough idle. Keep fuel clean and stabilized, especially if the cart sits for weeks.
Spark Plug & Wires: worn plugs and cracked leads reduce spark quality and starting reliability.
Oil & Filter Checks: clean oil and a fresh filter protect the engine during starts and warm-up.
Storage & Seasonal Prep: prepare for long-term storage to avoid gumming, rust, and battery drain.
Belt & Pulley Checks: belt wear or misalignment prevents easy engagement and places load on the starting system.
| Component | What to Check | Frequency | Action |
|---|---|---|---|
| Battery | Voltage, terminals, corrosion | Seasonally or monthly in heavy use | Clean, charge, or replace as needed |
| Fuel System | Fuel quality, lines, filter | Every 6 – 12 months | Drain or stabilize fuel, replace lines if necessary |
| Oil | Level and viscosity | Every 50 – 100 hours or seasonally | Top up or change oil |
Safety reminder: disconnect the battery and relieve pressure before working on the fuel or electrical side of the system.
Quick Summary
Starting a gas golf cart safely requires checking the battery health, fuel, and safety interlocks before turning the key.
Frequently Asked Questions
What type of battery is compatible with my gas golf cart?
You can typically use a 12-volt lead-acid battery for most gas golf carts, but check your owner’s manual for specific recommendations.
How does heat affect gas golf cart batteries?
Heat can significantly reduce battery life, so it’s important to keep your golf cart in a cool, shaded area when not in use to prevent overheating.
What is the average runtime for a gas golf cart on a full tank?
On a full tank, most gas golf carts can run for about 30 to 40 miles, depending on the terrain and driving style.
What safety precautions should I take when starting my gas golf cart?
Always ensure the area around the cart is clear, and check that the brake is engaged before starting to prevent accidental movement.
When should I replace the battery in my gas golf cart?
You should consider replacing the battery every 3 to 5 years, depending on usage and maintenance, to ensure reliable performance.