
How To Safely Reverse A Golf Cart: Step-by-step Instructions
Power off and disconnect the main battery before attempting any reverse. The most critical spec is the drive selector state, the reverse-forward switch, and whether it is truly in reverse (R) position. The common mistake is reversing with power still applied, which can spike the motor controller. The first setting to check is the gear selector or F/R switch, confirmed to R.
Reverse operation begins after power is off
Control System Overview

Reversing a golf cart is achieved by a forward-reverse control circuit that swaps the traction motor polarity under controller command. The system sequences power, steering, and braking to prevent unintended movement. The battery pack supplies the voltage and the controller orchestrates direction changes.
Most electric golf carts use a DC traction motor with a speed controller. Reversing is not a separate mechanical gear; it is done by inverting the current flow to the motor via a reversing contactor or electronic switch controlled by the F/R input. The motor’s direction changes without altering the throttle signal, while safety interlocks prevent movement when the parking brake is not engaged or the key is off.
In practice, the controller monitors pedal input and interlocks with the brake and key switch to avoid both forward and reverse being active at the same time. This sequencing helps prevent torque spikes, wheel spin, and unintended motion during the transition between directions.
In addition to the moving parts, the reverse path relies on reliable batteries and a healthy charger. A well-maintained pack ensures consistent voltage during direction changes, while the charger should be disconnected during any internal inspection to avoid accidental power application.
Switch Types
Choosing the right switching method affects reliability and ease of use. Mechanical options are common in older carts, while newer models favor electronic controls integrated in the motor controller. Each type has trade-offs in wear, response time, and fault tolerance.
| Switch Type | Current Handling | Pros | Cons |
|---|---|---|---|
| Mechanical DPDT toggle | Moderate to high (depends on wiring) | Simple, easy to inspect, low cost | Wear over time, possible misalignment, manual operation |
| Reversing contactor/relay | High current | Handles peak loads, reduces operator effort | Additional failure point, requires proper mounting and wiring |
| Electronic controller logic | Integrated, variable | No moving parts, fast switching, self-diagnosis | Depends on programming, can be harder to troubleshoot |
Always ensure the cart is stable with the parking brake engaged before attempting any direction change or inspection.
Key takeaway: reversing relies on coordinated switching and motor control, not just a single lever. Confirm the switch type your cart uses, ensure interlocks are intact, and inspect wiring for signs of wear or corrosion before operation.
Step-by-Step Reversal Process
Put the cart in reverse while it is stationary and the brake is engaged. Verify the path behind is clear, then gently release the brake and apply light throttle to begin backing. Ensure the battery gauge shows adequate charge to support the move.
Essential Tools Needed

Have a focused toolkit ready before working on the golf cart’s electrical system. Basic tools handle fasteners, wiring, and measurement, while safety gear protects you from shocks or acid. A battery charger compatible with your cart’s chemistry helps test and top up without disassembly.
Basic Tools
| Item | Amount/Specification | Notes |
|---|---|---|
| Socket set (metric and SAE) | Full range, 6 mm to 19 mm | Insulated handles preferred |
| Ratchet, extensions | 1/4″, 3/8″ | Reach tight spaces in chassis |
| Screwdrivers (flat and Phillips) with insulated grips | Assorted sizes | Keep hands away from energized circuits |
| Pliers (needle-nose, slip-joint) | Curved and straight jaws | Gripping and bending cables safely |
| Wire cutters and strippers | Sharp blades, proper insulation | Clean cuts, avoid frayed conductors |
| Digital multimeter | Volt range up to 600 V | Test voltage and continuity |
| Battery tester or hydrometer (lead-acid) | Digital preferred | Assess pack health before handling |
| Dielectric grease and electrical tape | 1 tube, 1 roll | Prevent corrosion, seal splices |
| Insulated tools | CAT III or higher | Reduce shock risk on live circuits |
| Portable charger (compatible with cart battery) | As specified by battery type | Use for safe topping tests |
Safety Gear
| Item | Specification | Notes |
|---|---|---|
| Safety glasses | ANSI Z87.1 compliant | Protect eyes from sparks or splashes |
| Cut-resistant gloves | Level 5 or equivalent | Protect hands when handling cables |
| Insulated work gloves | Electrical safety rating | Shield against shocks |
| Fire extinguisher | Class ABC | Keep nearby in case of battery fire |
| Non-slip footwear | Closed-toe, robust sole | Prevent slips on shop floor |
| Long sleeves and pants | Non-flammable fabric | Limit skin exposure |
| Face shield or splash goggles | Clear shield | Extra protection for battery venting |
| Ventilated workspace or respirator | As needed for fumes | Battery gases can be hazardous |
Battery Safety Guidelines
Heat management is critical when dealing with golf cart battery packs during any reversal or servicing. Excess heat speeds capacity loss and raises the risk of thermal events. Keep the battery area ventilated, avoid direct sun, and use a charger that limits current to what the pack can safely absorb.
Heat monitoring and prevention are practical habits during reversal or service. Use a battery monitor or thermal sensor when available and check for hot spots after any charging cycle. If any part of the pack feels unusually warm, let it cool in a ventilated area before continuing.
Swelling signs require immediate attention. Visible puffing or a hissing sound points to degraded cells and possible venting risk. Stop using the pack, disconnect power, move to a safe area, and seek professional assessment; never puncture or squeeze the case.
Charging and storage practices reduce risk over time. Keep the cart in a cool, dry area away from flammables and avoid charging in damp locations. Inspect cables and the battery case for damage before each use, and replace any worn parts promptly.
Consult the battery manufacturer’s safety documentation for procedures specific to the cart’s chemistry. Following labeled instructions reduces the chance of heat buildup, swelling, or hazardous venting during reversal or maintenance tasks.
Common Troubleshooting Issues

Motor not engaging in reverse is typically caused by a fault in the control path or an undervoltage pack. Start by confirming the pack voltage, then inspect the main fuse, contactor, and reverse switch for proper operation. If voltage is correct but the motor still won’t engage, diagnose the controller and wiring for faults.
Motor Not Engaging
Symptom → The cart does not respond when the reverse lever is engaged, with little or no motor noise and no drive indication.
Cause → Common causes include low battery voltage, a blown main fuse, a faulty contactor or relay, a bad throttle or reverse input switch, or a damaged controller.
Fix → Verify pack voltage at the controller input with a multimeter and confirm it is within spec. Check and replace any blown fuses, and test the main contactor for coil operation and contact continuity. Inspect throttle and reverse switch wiring for loose connections, and reset or replace the controller if fault codes persist.
Battery Issues
Symptom → The cart shows reduced performance in reverse or cannot engage due to insufficient pack energy.
Cause → A battery that is aged, sulfated, or has poor cell balance, plus loose or corroded connections or damaged cables, can cause voltage sag that prevents engagement.
Fix → Measure the total pack voltage and perform a load test to check sag. Inspect all battery terminals and cables for corrosion or looseness and clean or tighten as needed. If cells are imbalanced or capacity is degraded, replace affected modules or the entire pack and rebalance with the appropriate charger. Use the correct charger for the chemistry and avoid deep discharges.
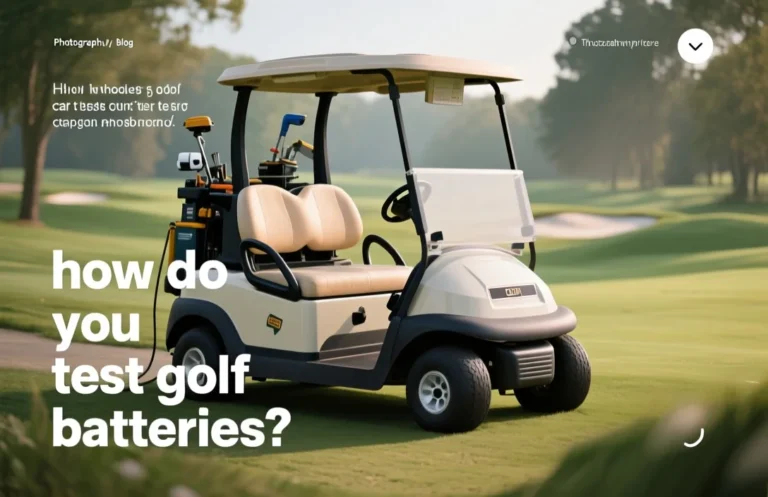
Maintaining Golf Cart Batteries
Use a charger that matches your golf cart battery chemistry and bank voltage. Regular, properly rated charging prevents sulfation and unequal cell wear, preserving capacity and performance across cycles.
Keep charging components clean and dry, inspect cables for wear, and connect only when the cart is off to avoid arcing. Avoid leaving chargers unattended in hot or damp areas.
| Battery Type | Bank Configuration | Charging Guidance |
|---|---|---|
| Flooded lead-acid | Typically 6V or 8V banks in golf carts | Use a charger with temperature compensation and regular monitoring |
| AGM lead-acid | Similar banks | Prefer chargers designed for AGM chemistry |
| LiFePO4 | 12V or higher packs | Use LiFePO4-specific chargers and avoid overvoltage |
Storage Tips: When not in use for extended periods, store in a cool, dry place and keep terminals clean. Disconnect heavy loads, and use a maintainer to hold voltage within safe limits. Check every 1 – 3 months and recharge if voltage drops below the recommended level.
Safety note: Swollen, hot, or leaking cells require immediate attention and may indicate a failed pack. Do not continue to use or charge until inspected by a qualified technician.
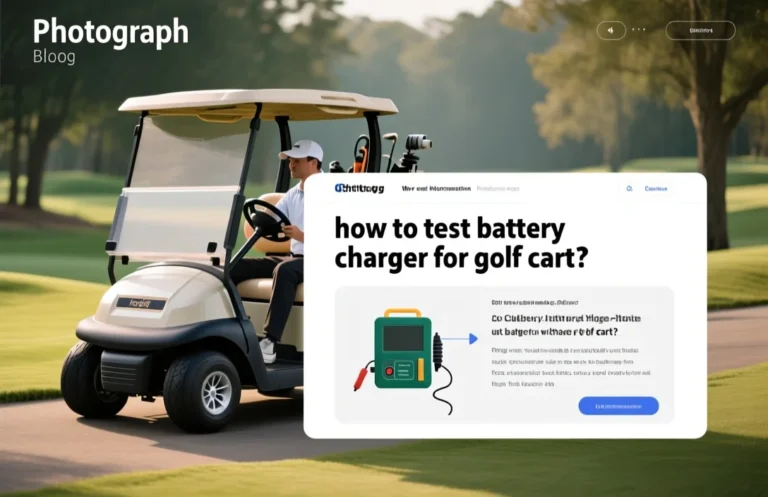
Charger Compatibility Insights
Correct charger compatibility ensures the pack charges safely and quickly, supporting consistent performance in all driving directions. Golf cart packs commonly run at 36 or 48 volts; always use a charger labeled for the pack voltage and the same connector type.
Voltage Requirements
Voltage matching is the foundation of safe charging. Choose a charger with an output voltage that equals the nominal pack voltage, typically 36V or 48V for most carts. The label should also indicate compatible battery chemistry and the maximum charging current. Do not mix a higher voltage charger with a lower voltage pack, and avoid using chargers not rated for the battery chemistry, since that can damage the pack or bypass the BMS protections.
| Pack Voltage (V) | Common Charger Output (V) | Notes |
|---|---|---|
| 24 | 24 | Used by older or smaller carts; confirm compatibility with manual. |
| 36 | 36 | Standard for many mid-range carts; verify current rating and chemistry. |
| 48 | 48 | Common in newer models; ensure charger supports lead-acid or Li chemistry as appropriate. |
In practice, verify the charger label matches the pack voltage and the battery chemistry. The charger should be listed as compatible with the cart’s system in the manual or by the manufacturer; avoid generic or unlisted chargers. Current rating affects charging time, not safety when within spec, but higher current can heat packs faster and should align with the pack and BMS capabilities.
Connector Types
The connector on the charger must fit the cart port and be rated for DC charging. Mismatches can cause arcing, poor contact, or damage to the charging circuit. Look for a keyed connector with correct polarity and weather-sealed contacts, and avoid forcing adapters or improvised cables. If the cart manual specifies a common connector type, use that exact style or an approved manufacturer adapter.
Safety reminder: never charge a damaged pack or bypass BMS protections; use only chargers and connectors approved for the specific cart and chemistry.
Quick Summary
Reversing a golf cart is a straightforward process that requires understanding its controls and safety precautions.
Frequently Asked Questions
What type of battery is compatible with my golf cart?
You can typically use 6V or 8V lead-acid batteries in golf carts, but it’s important to check your owner’s manual for the specific type recommended by the manufacturer.
Is it safe to charge my golf cart battery while it is still in the cart?
Yes, it is safe to charge your golf cart battery while it’s in the cart, as long as you ensure the charger is compatible and the area is well-ventilated to prevent overheating.
How long does a golf cart battery run on a full charge?
The runtime on a full charge can vary, but most golf cart batteries provide about 25 to 40 miles depending on the terrain and weight load, so plan your trips accordingly.
What should I do if my golf cart battery swells?
If your golf cart battery is swelling, it is crucial to stop using it immediately and consult a professional, as this could indicate overheating or a faulty battery that poses safety risks.
When should I replace my golf cart battery?
You should consider replacing your golf cart battery every 4 to 6 years, or sooner if you notice decreased performance or frequent charging issues, to ensure reliable operation.