How To Clean Golf Cart?
Power down completely and isolate the battery area before any cleaning. The spec that matters most is battery isolation and moisture protection, and the common mistake is spraying cleaners directly into the battery compartment. The first setting to check is the key switch, set to OFF, and the parking brake engaged. Keep cleaning to exterior surfaces and avoid high pressure near wiring.
Cleaning golf carts safely starts with powering down, unplugging the charger, and isolating the battery pack. Use a damp sponge with 1 to 2 capfuls of mild soap per gallon of water, rinse lightly, and dry for 15 minutes before reconnecting power. Avoid high pressure near connectors and terminals.
Gather Cleaning Supplies
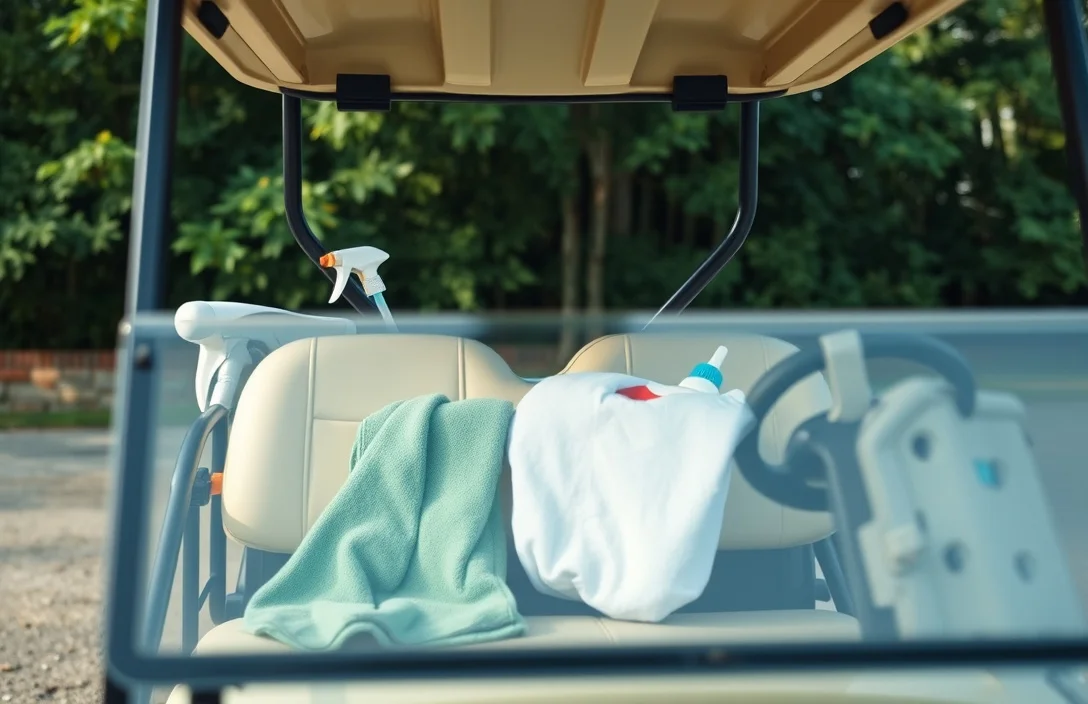
A safe cleaning kit for a golf cart includes a pH-neutral car wash soap, a soft-bristle brush, microfiber towels, a sponge, two spray bottles for diluted cleaners, a bucket, and a hose with a gentle spray. Protect electrical areas with gloves and use non-abrasive cleaners, applying water sparingly to battery bays and connections. These basics help clean without risking battery health or wiring damage.
Store these supplies in a labeled kit in the cart compartment or tools area. Keep cleaners separate from battery tools, and check labels for plastics and coatings compatibility.
| Product Type | Use | Safety Notes |
|---|---|---|
| PH-neutral car wash soap | Clean exterior panels and plastics | Avoid waxes that trap dirt; rinse well |
| Soft-bristle brush / microfiber cloth | Lift grime without scratching | Use gentle pressure |
| Isopropyl alcohol 70% | Disinfect and remove stubborn grime | Avoid contact with batteries and wiring |
| Baking soda paste | Neutralize battery corrosion | Rinse and dry completely after use |
Keep water away from the battery bay and electrical connectors; use damp cloths rather than spray to avoid shorts.
Before you start, check the cart manual for any surface coatings and battery care notes. After cleaning, dry surfaces thoroughly and inspect cables and connections for wear.
Prepare Golf Cart for Cleaning
Turn off the cart, remove the key, and switch off any accessory power before touching anything. Identify the main battery area and plan the disconnection order, starting with the negative terminal to minimize short-circuit risk. Use insulated tools and keep metal surfaces from touching to avoid accidental arcing.
Cleaning the Exterior Body
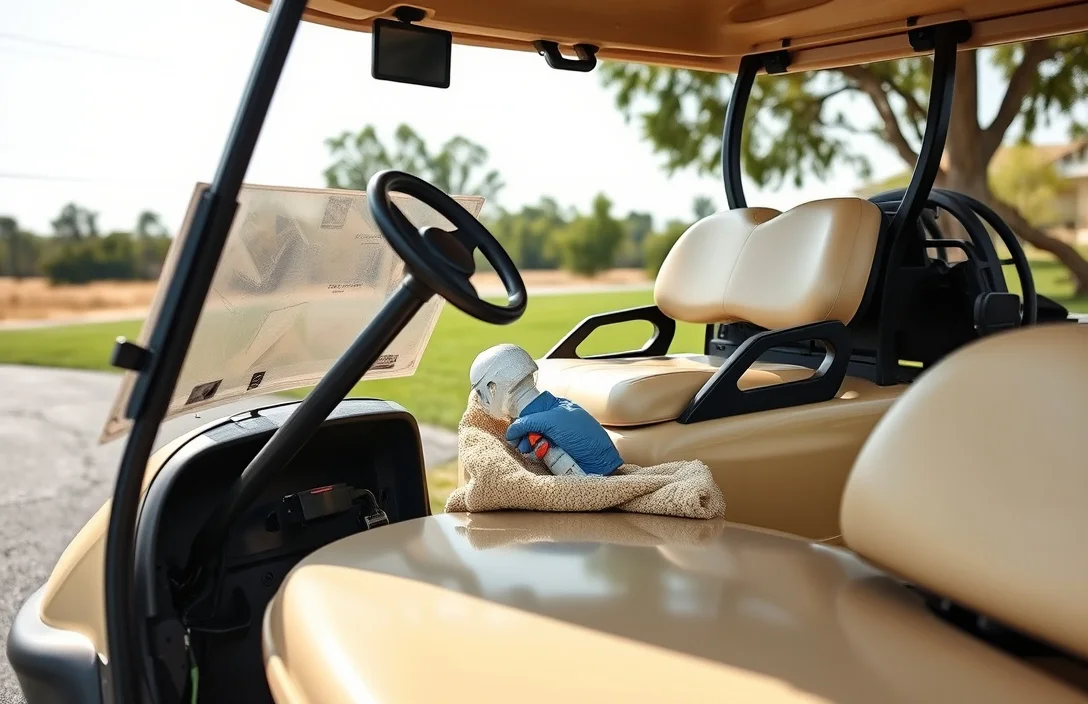
Clean the exterior with a soft microfiber cloth and a mild soap solution to lift dirt without scratching the finish. Avoid high-pressure washers or strong jets that can force water into seals or around electrical connections. Dry promptly with a clean microfiber to prevent water spots and corrosion on chrome and painted surfaces.
Cleaning the Interior
Keep moisture away from the battery box and wiring when cleaning the interior. Start with dry dusting and vacuuming to remove debris, then wipe non-electrical surfaces with a damp microfiber as needed. Avoid saturating control panels, switches, or exposed connectors.
Let treated surfaces air dry before use and re-check seals around the battery area after cleaning. Store cleaning supplies and wipes in a dry place to prevent moisture exposure to electrical components between uses.
Maintaining Electrical Components
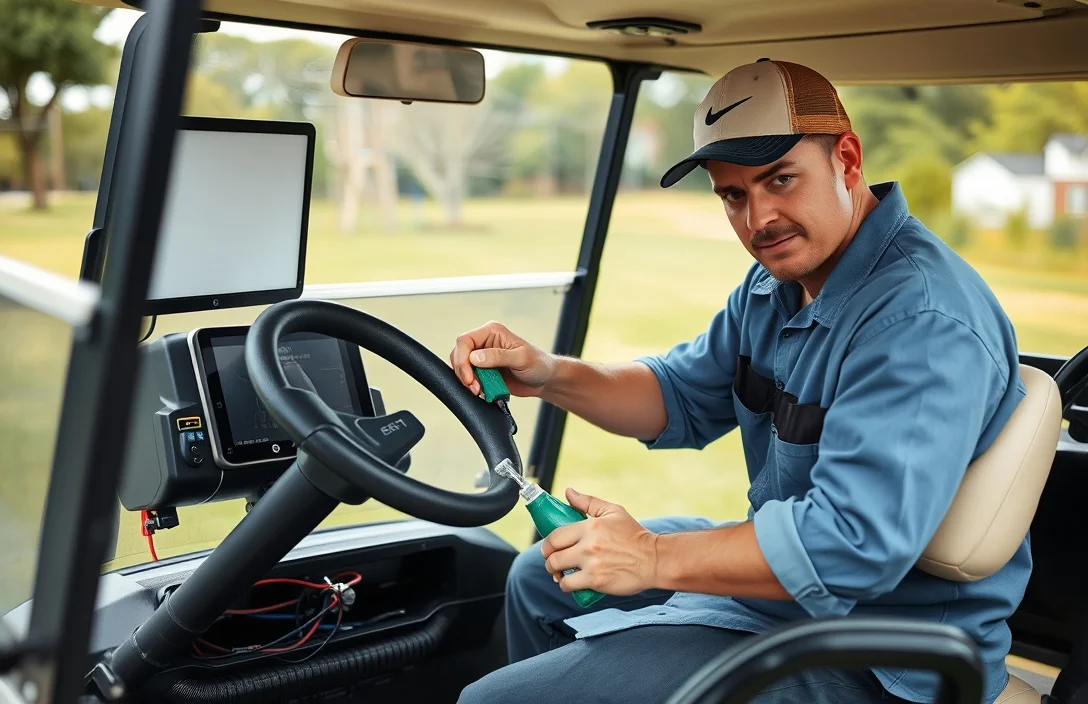
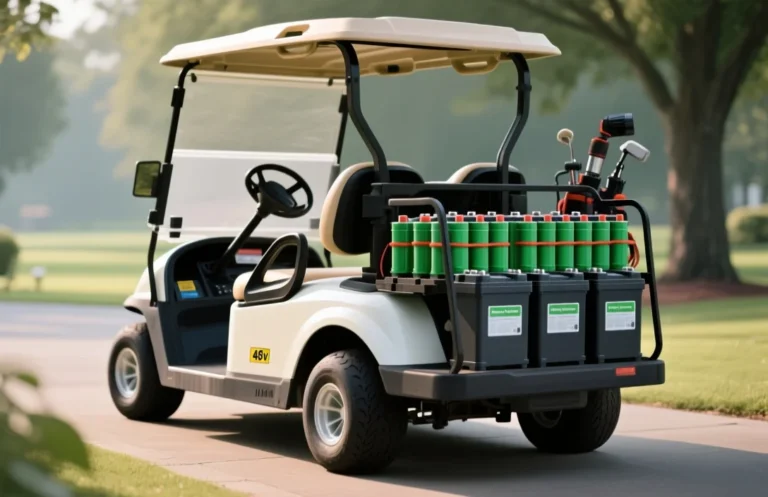
Power down and disconnect the battery bank before cleaning. Remove the negative lead first, then the positive, to reduce sparks. Wipe terminals and nearby contacts with a dry cloth, and if corrosion is present, apply a baking soda paste and brush gently until clean, then dry completely.
Clean Battery Terminals
Wear safety gear and follow the power-down steps before touching any cable. Remove the negative lead first, then the positive, to minimize sparks. Apply a small amount of baking soda mixed with water to form a paste and scrub corrosion with a nylon brush until the residue disappears. Wipe dry and apply a thin layer of dielectric grease or terminal protector to slow future corrosion.
Inspect Wiring and Connections
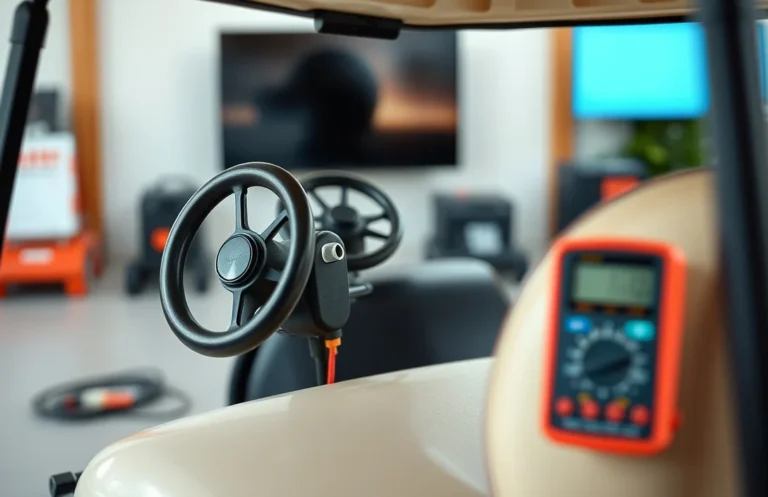
Power down as above, inspect cables for cracked insulation, exposed conductors, or heat damage. Check connectors for corrosion, bent pins, or looseness and tighten to the manufacturer torque specs with a proper tool. If you see damaged insulation or melted connectors, replace them instead of patching. For any connector with light corrosion, clean with a contact cleaner and dry before reassembling.
Quick reference cleaning steps and notes
| Step | Action | Notes |
|---|---|---|
| 1 | Power down and disconnect | Negative first to reduce sparks |
| 2 | Clean terminals | Baking soda paste; brush; dry thoroughly |
| 3 | Inspect wiring | Look for wear; replace damaged cables |
| 4 | Protect and reconnect | Apply dielectric grease; reconnect positive then negative |
Important: Do not soak the battery area or allow cleaners to contact vent openings; keep the area dry and air should circulate during cleanup.
Battery Care During Cleaning
Maintaining battery health during the cleaning of a golf cart is essential to ensure longevity and performance. Regularly checking battery fluid levels and minimizing water exposure are crucial steps in this process.
For instance, when cleaning the exterior of the golf cart, focus on using a microfiber cloth to avoid leaving debris or moisture around the battery terminals. If a hose is necessary for cleaning, use it sparingly and direct the water flow away from the battery.
In practice, taking these precautions not only helps keep the battery in good condition but also enhances the overall safety and efficiency of the golf cart. Regular maintenance will ultimately lead to a more reliable and longer-lasting vehicle.
Post-Cleaning Steps
After completing the cleaning process, it is crucial to reconnect the battery and inspect the golf cart for any potential damage. Ensuring that everything is properly reassembled and functioning correctly will help maintain the cart’s operational integrity.
Following these post-cleaning steps will not only ensure that your golf cart remains in good condition but also prolong the life of its components, particularly the battery and electrical system.
Quick Summary
Clean golf carts safely by protecting the battery and electricals, using mild cleaners, and following the owner’s manual guidelines.
Frequently Asked Questions
Can I use household cleaners on my golf cart battery and charger when cleaning, or do I need a specialty cleaner?
Use mild soap and water or a baking soda paste for lead-acid batteries; avoid ammonia-based or solvent cleaners that can corrode terminals. Keep cleaners off the charger and terminals, and wipe with a damp cloth instead of spraying directly on components.
What heat considerations should I know when cleaning a golf cart battery and charger?
Wait for at least 30 minutes of cooling after use before starting cleaning to avoid heat buildup. Do not clean a battery that is hotter than 60 C, and ensure good ventilation to prevent hydrogen buildup.
How does cleaning the golf cart battery affect runtime and performance?
Cleaning does not increase the battery’s rated runtime, which is based on its amp-hour capacity. However, keeping terminals clean and connectors tight can improve efficiency and prevent voltage drop during operation, and you should dry each surface for at least 10 minutes before re-connecting power.
What safety steps should I follow when cleaning a golf cart battery and charging area?
Always disconnect the battery from the cart and from the charger before cleaning. Wear eye protection and gloves, work in a well ventilated area, and use a baking soda solution to neutralize any corrosion on lead-acid terminals if needed.
When should I replace golf cart batteries or chargers, and what buying mistakes should I avoid?
Replace batteries when capacity falls below 60-70 percent of original or if you see swelling or leakage. A common buying mistake is choosing a charger that is not compatible with your battery voltage or amperage; verify the charger spec, connector type, and whether it supports your battery bank before buying.