

How To Test Golf Cart Motor With Multimeter?
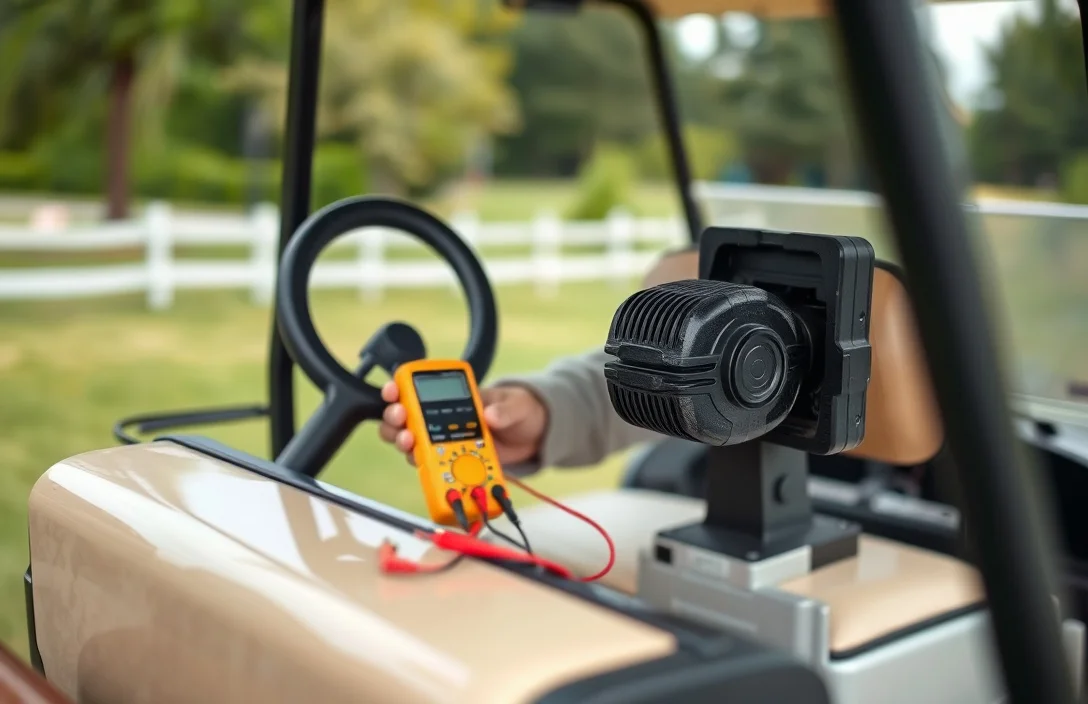
Power down the cart and disconnect the battery pack before you touch any wires. The spec that matters most is motor winding resistance, which tells you if the coils are open or shorted. The common mistake is testing while the system is still powered or connected to the controller. Set your multimeter to ohms (Ω) and start at the motor windings.
Ohms test starts with the motor disconnected from power. Multimeter in ohms mode measures resistance between motor windings and from each winding to ground. A healthy winding reads a finite value well under 100 ohms; an infinite reading means open coil, and near zero indicates a short.
Essential Tools Needed

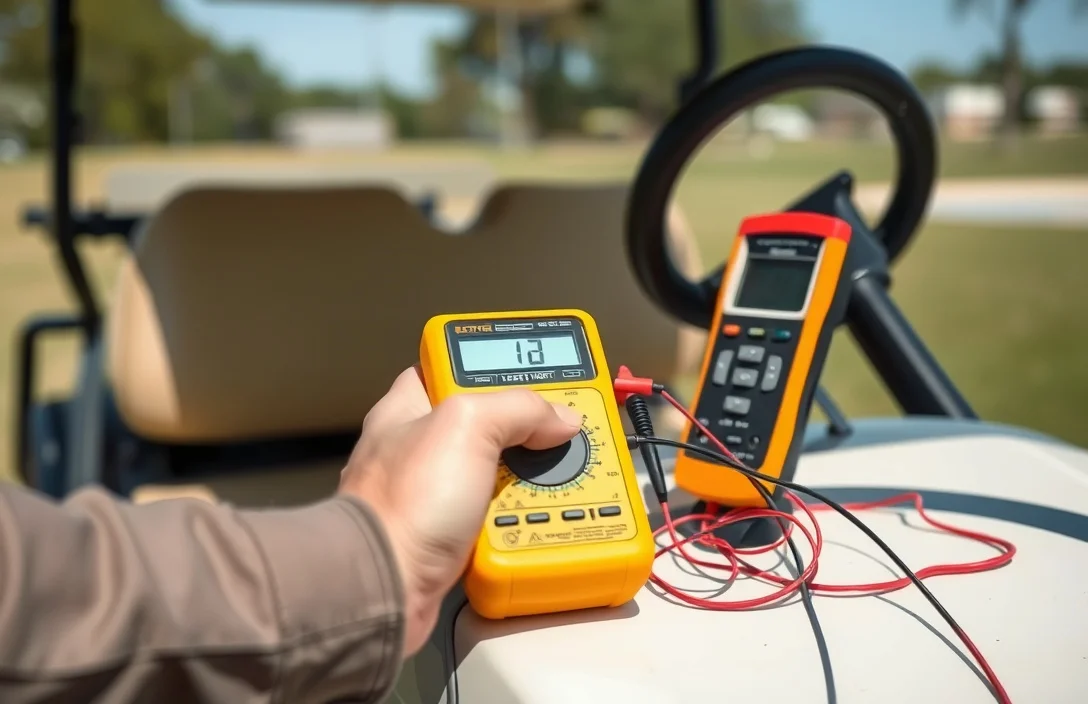
A solid digital multimeter is the core tool for checking golf cart motor windings, supply lines, and control wiring. For in-running current checks, a clamp-on meter is handy but optional. Pair it with sturdy test leads and terminal adapters to reach the motor connections safely.
| Item | Amount/Specification | Notes |
|---|---|---|
| Digital Multimeter (DMM) | DC voltage range that covers the system voltage (typical 36V or 48V), resistance down to 0.1 Ω, current via test leads up to 10 A; auto-range preferred | Primary tool for static checks on windings and power wiring. Use on a powered-off circuit when measuring resistance. |
| Clamp-on Meter (DC capable) | DC current measurement up to 100 A; low burden voltage | Optional tool that lets you measure motor current without disconnecting cables. |
| Test Leads and Probes | Insulated, shrouded banana probes or hook probes; 1.5 – 2 m length; rated for the expected voltage | Ensure leads are in good condition and suitable for the current you expect to measure. |
| Banana Plug Adapters / Alligator Clips | 2 – 3 ft leads with adapters | Attach to motor terminals and winding leads securely. |
| Low-Ohm Shunt (optional) | 0.001 – 0.1 Ω range; rated for the current you test | Useful if you want an inline current reading without a clamp meter. |
| Personal Protective Equipment | Insulated gloves, safety glasses | Basic protection when handling exposed connections or battery harnesses. |
Recommended Multimeter Models: Look for a meter that can measure DC voltage, resistance, and current reliably. Auto-ranging, low resistance measurement, and a solid build are worth paying for on a workshop project like this.
Additional Testing Equipment: The following items improve testing control and repeatability.
Safety Precautions
Personal safety gear reduces the risk of shock and burns when handling power components. Wear insulated gloves, safety glasses, and non-conductive footwear, and keep loose clothing away from exposed electrical parts.
Electrical safety tips emphasize isolating energy sources, verifying de-energization, and using the multimeter correctly. Attempt only steps you are trained for, and never work on energized circuits; when in doubt, consult the cart’s service manual or a qualified technician.
Testing Procedure Overview
Before testing, ensure the drive system is de-energized and secured. Disconnect the main battery pack and remove the key, then engage the parking brake for stability. Use a DC multimeter to measure winding resistance, continuity, and insulation, and compare readings to the motor’s service manual where available.
Measuring Voltage
A healthy motor circuit shows the controller delivering near the pack voltage to the motor terminals. With the cart powered, measure across the two main motor leads; a reading close to the pack voltage indicates proper output, while a large drop or zero volts flags wiring, controller, or interlock issues. Use caution to avoid shorts and burns.
Measuring Resistance
Measuring Resistance across windings with the power disconnected yields a finite, stable value. Healthy windings fall within a model-specific range, usually from a fraction of an ohm up to a few tens of ohms, so compare to the motor’s spec or a known-good winding. An open or near-zero reading suggests a damaged coil or a short to another path.
Identifying Common Issues
Continuity, resistance, and insulation tests reveal motor health. Always disconnect power before testing and work in a dry, safe environment. Expect open circuits, shorts, or leakage to show up as fault readings during a multimeter check.
Open windings or broken conductors
Symptom: motor fails to start or shows inconsistent winding continuity when tested. Cause: a broken conductor or an internally opened winding breaks the circuit path. Fix: use the multimeter to test continuity across windings, inspect joints and leads for damage, and replace the winding or motor if you find an open path.
Shorted windings or winding-to-winding shorts
Symptom: motor hums or draws excessive current but does not develop torque; resistance readings between winding paths are abnormally low. Cause: insulation failure or windings touching each other. Fix: measure resistance between winding segments; if readings are much lower than others or show near-short, replace or rewind the motor and check the drive wiring for damage.
Insulation leakage to the frame
Symptom: test shows unexpected continuity or low resistance between windings and motor case. Cause: damaged insulation or wires rubbing against the chassis. Fix: perform an insulation resistance check if possible, and replace if the frame-to-winding path shows leakage; reroute wires to avoid contact and protect with grommets.
Loose or corroded connections
Symptom: intermittent operation, heat at terminals, or voltage drops at the start. Cause: corrosion, loose terminals, or frayed cables. Fix: clean and tighten all connections, replace corroded hardware, and verify correct cable gauges and routing to prevent loosening under load.
Brush wear or bad commutation
Symptom: irregular speed or torque, sometimes with brush chatter; resistance may vary across segments during testing. Cause: worn brushes, carbon buildup, or a dirty commutator causing poor contact. Fix: inspect and replace brushes as needed, clean the commutator surface, and test under load to confirm stable contact before reassembly.
Maintenance Tips
Multimeter testing focuses on winding resistance, insulation to ground, and solenoid coil health to confirm motor condition. Compare readings to the manufacturer’s spec in your service manual and look for open or shorted windings before deciding on repair.
Regular maintenance practices keep the motor reliable and extend life. Clean and tighten all battery and motor connections, inspect connectors for corrosion, lubricate bearings per the manufacturer’s guidance, and record key measurements during every inspection.
Signs that maintenance is needed include nagging symptoms of electrical or mechanical wear. If you notice these, perform a targeted check or seek service to prevent sudden failure.
Quick Summary
To diagnose a golf cart motor, use a multimeter to verify motor resistance, wiring continuity, and supply voltage.
Frequently Asked Questions
Can a basic multimeter confirm golf cart motor compatibility when choosing a replacement?
Yes, a basic multimeter can check winding continuity and measure DC resistance between motor leads; compare the readings to the motor’s datasheet or spec sheet, and if the measurements differ by more than about 20% between windings or from spec, the replacement is likely not compatible.
How can I use a multimeter to detect heat related problems in a golf cart motor during testing?
A multimeter cannot measure running heat directly; you can use it to test insulation resistance and verify windings are not shorted, but for heat during operation, use an infrared thermometer and limit run time; if the housing feels hot to touch after short operation, stop.
Can multimeter readings help estimate how long a golf cart will run on a charge before a replacement is needed?
No direct runtime from a multimeter; to gauge runtime, test the battery pack under load or use the cart’s controller readout; if you see large voltage sag under load, expect shorter runtime and plan for replacement or service.
What safety steps should I follow when testing a golf cart motor with a multimeter?
Disconnect power, remove the key, and isolate the battery pack; keep probes away from moving parts and use insulated leads; never touch live terminals.
What common buying mistakes should I avoid when diagnosing a motor with a multimeter and shopping for replacements?
Avoid relying on a single resistance reading; compare all windings to the spec, verify controller and wiring compatibility, and perform a light load test before buying; do not rely on a single measurement.