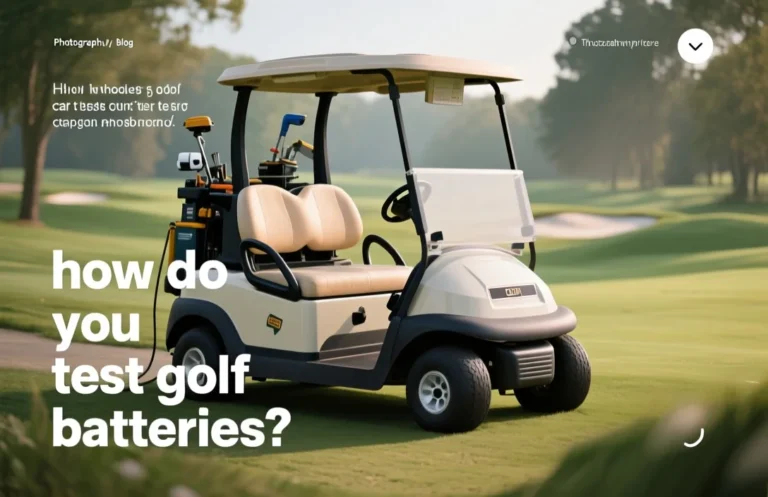
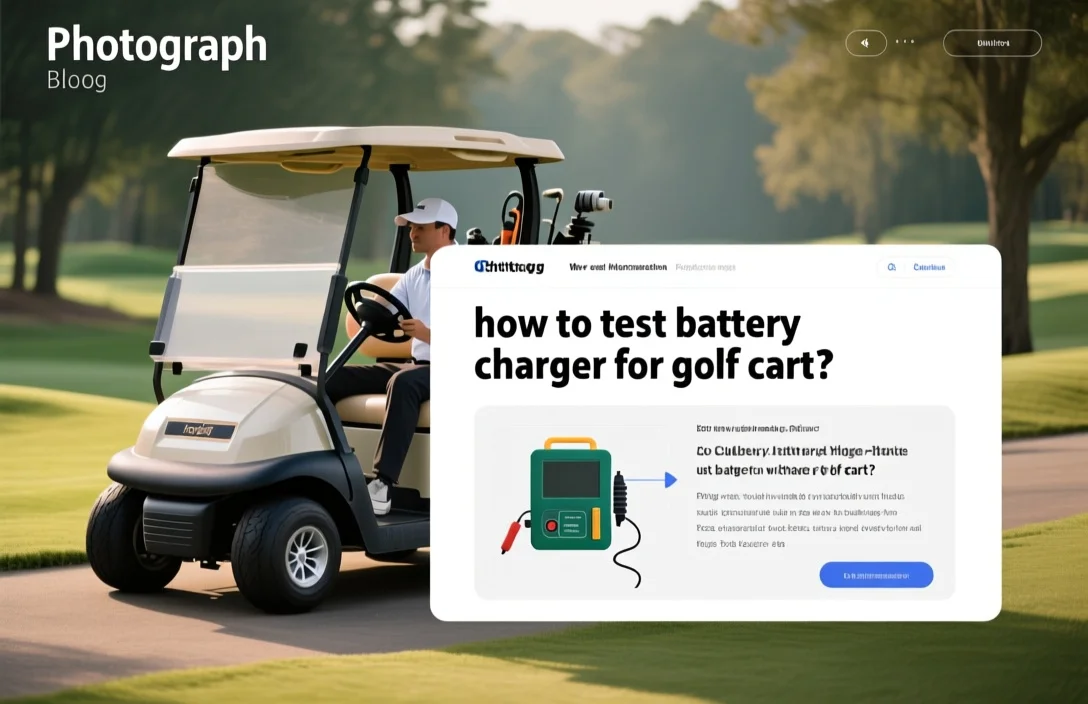
How to test battery charger for golf cart?
Golf cart charging problems usually come down to one spec, the pack voltage. Most carts are 36V or 48V, and using the wrong charger will damage batteries fast. A common mistake is trusting a single LED to mean the charger is OK. First, check the charger’s voltage rating label or any selector switch to confirm a match.
How to test battery charger for golf cart? Use a multimeter and clamp meter: verify the charger output equals the pack nominal voltage, commonly 36V or 48V; measure DC output and charging current, watch LEDs for error codes, and confirm the current flows for 15 to 30 minutes during a normal charge cycle.
Common failure signs
A faulty golf-cart charger usually reveals itself visibly or by the way the pack behaves: common indicators are dead status lights, very slow or no charging, breakers or fuses tripping, excessive heat or a burning smell, and batteries that swell or give poor runtime. Those symptoms help decide whether to test the charger first or suspect the battery pack.
For example, if you plug the charger into a verified, live outlet and the panel stays dark while other appliances work, the charger is likely the culprit; by contrast, if the charger indicates a full charge but the cart still runs poorly, the battery pack is more suspect. These quick observations narrow which component you should test first.
If signs clearly point to the charger, replace or have it serviced before swapping the battery pack, because a bad charger can damage new batteries. If signs point to the batteries, prioritize safe removal and replacement, and treat swollen cells as an immediate hazard. When evidence is mixed, plan to test both components in sequence to avoid replacing the wrong item.
Safety and required tools
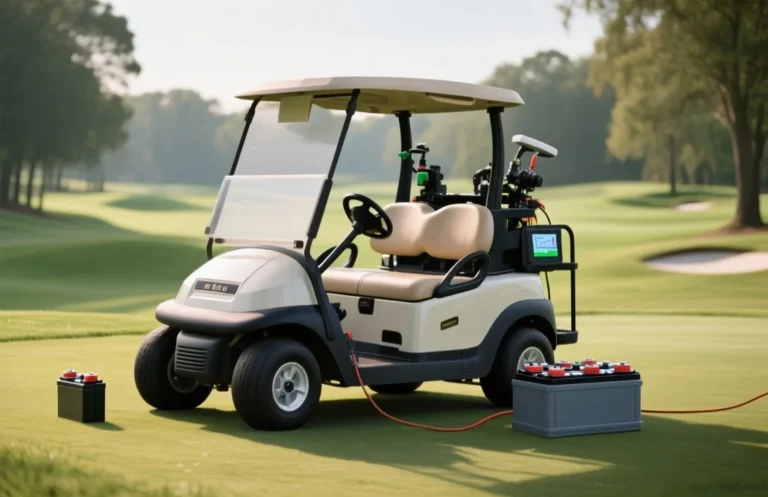
Testing a golf-cart battery charger safely requires personal protective equipment, a properly rated digital multimeter set to DC volts, and a clamp meter or inline ammeter sized for the charger’s output; without them you can short the system, damage your meter, or suffer acid burns or electric shock. Use a known-good battery or a dedicated load tester so the charger sees a realistic load, and always work with insulated tools in a well ventilated area to avoid hydrogen buildup from flooded cells.
For quick pre-test checks, make sure your DMM has been recently fused and zeroed, the clamp meter supports DC measurement, and you know the pack nominal voltage from the cart label or battery serial plate. Never probe terminals with bare hands or use a screwdriver as a bridge between terminals, and if you are unsure about interrupting the main positive lead for an inline measurement, get professional help.
Pre-test inspection steps
Most false readings or charger damage come from simple, visible faults: frayed cords, corroded terminals, wrong charger ratings, or low electrolyte in flooded cells. Complete these visual and simple checks before you connect meters or apply power to avoid injury and misleading results.
When these pre-test checks are clean, you reduce risk and improve test accuracy; proceed next to measure the battery open-circuit voltage with your meter.
Measure open-circuit voltage
A healthy golf-cart charger, when powered but not connected to the battery, will show an unloaded DC output close to its rated charging voltage on the unit label; a reading that is far above or below that label usually indicates a problem. Measure both the charger’s output and the battery’s resting voltage and compare them to the stamped voltage on the charger to decide whether the charger can bring the pack up to full charge.
For example, if the charger label reads 48V and your meter shows a stable open-circuit reading well above the label by many volts, that is a red flag and you should stop and investigate. If the charger shows no output unless attached to a battery, verify that behavior with the manufacturer manual before assuming a fault.
Test current, load, stages
Measure charging current during the bulk phase, confirm the charger drops current and holds voltage at absorption, and verify it slips to a lower float voltage when fully charged. Run a controlled load, watch voltage recovery after the load is removed, and compare behavior to the charger’s rated output on its label.
Compatibility, specs, runtime
Charger voltage must match the golf cart battery pack nominal voltage exactly, and the charger must support the battery chemistry charging profile; a mismatched voltage or profile will prevent proper charging and can damage cells. Charger amp output relative to the battery amp-hour rating determines how fast the pack will accept a full charge, while voltage times amps gives you the charger wattage to compare against power sources and estimate runtime.
To estimate charge time use the simple rule: charge hours ≈ battery amp-hours divided by charger amps, multiplied by a correction factor for inefficiency and absorption time. For lead-acid types expect extra time for absorption and equalization stages, and for lithium expect a CC-CV phase and a BMS-managed finish, so the correction factor typically increases charging duration beyond the raw AH/amps number.
Repair or replace guidance
Repair the charger when the fault is external or serviceable and the unit tests within the original output specs under load, for example loose terminals, blown fuses, damaged cables, or a failed cooling fan. Replace the charger when the output is unstable, internal components are scorched, the unit overheats or smokes, the cost of parts and labor approaches a new unit, or the charger fails safety checks and certification verification.
Repair is reasonable when failures are limited, documented replacement parts exist, the unit retains safety markings, and you or an authorized shop can restore it to spec for less than replacement price. Repair retains warranty only if done by the manufacturer or authorized service; unauthorized repairs often void warranty.
| Symptom | Repair likely | Replace likely |
|---|---|---|
| Broken cable or connector | Yes, replace cable/connector | No |
| Blown internal fuse, replaceable module | Yes, repair | No |
| No output or intermittent high/low voltage | Possible if minor component | Yes, if internal damage or intermittent |
| Overheating, smoke, burned PCB | No | Yes |
| Charger OK but battery dies under load | No | Replace battery |
Safety warning: if the charger emits smoke, hot smells, sparks, or gets excessively hot quickly, disconnect immediately and do not attempt repairs unless qualified. Continuing to use a compromised charger can cause fire, battery damage, or personal injury.
If you cannot confirm stable output under load or the charger lacks safety certification, replace it. When in doubt, use an authorized service center or buy a verified replacement, because safety must take priority over saving cost.
Quick Summary
Test a golf cart battery charger by verifying its output voltage, charging current, and proper charging profile before using it on the battery pack.
Frequently Asked Questions
How do I test if my golf cart battery charger is compatible with my cart?
You can check the charger’s label for output voltage and make sure it matches the battery pack nominal voltage, for example 48 V for a 48V pack. You can also confirm the charger’s amp rating does not exceed the battery manufacturer’s recommended charge current, which is listed in the battery manual.
How can I test a golf cart charger for overheating or heat-related problems?
You can run the charger under normal load for 10 minutes and check the case with an IR thermometer. Stop testing and investigate if surface temperature exceeds 50 C (122 F).
How do I test charger output and estimate how long it will take to charge my golf cart batteries?
You can measure charger current with a clamp meter and estimate time by dividing battery amp-hours by charger amps, for example 200 Ah / 20 A = 10 hours, then add 10 to 20 percent for inefficiency. Use the battery’s Ah rating from the label for the calculation.
What safety checks should I perform when testing a golf cart battery charger?
You can disconnect the charger from mains before inspecting, wear eye protection and gloves, and use test tools rated above the pack voltage. For a 48V system use tools rated > 48 V and avoid sparks near battery vents.
How do I tell if my golf cart charger is failing and needs replacement, and what common buying mistakes should I avoid when testing?
You can consider replacing the charger if it shows zero amps after 10 minutes connected, trips repeatedly, or outputs unstable voltage during a live test. Avoid buying a replacement before verifying the charger output matches pack voltage and the battery itself is not the root cause.