
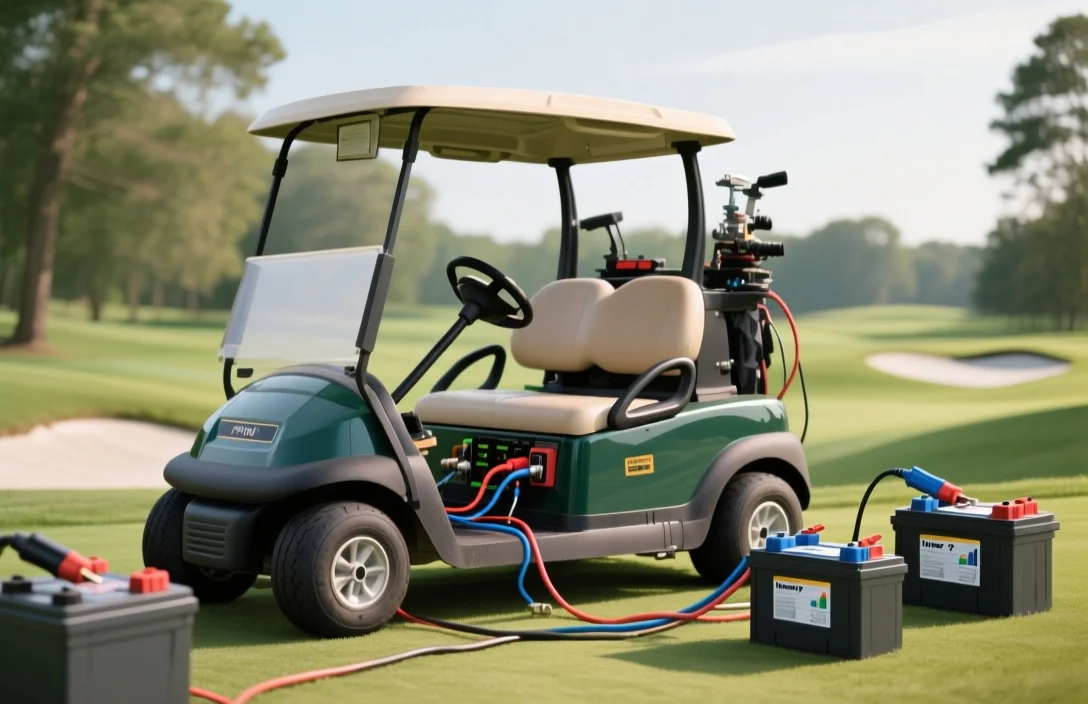
How to wire golf cart batteries?
Most golf carts run on a fixed system voltage, usually 36V or 48V, so the single most important spec is system voltage. A common mistake is mixing battery voltages or wiring the pack incorrectly. First check the battery voltage label and the cart controller or decal, then confirm your charger is set to the same voltage.
How to wire golf cart batteries: identify the required system voltage (commonly 36V or 48V), use series wiring to add individual battery voltages to the system total, connect positive to negative between batteries, keep all batteries the same voltage and age, use insulated cables and proper fusing, and fully charge before first use.
System Voltage Checklist
Most golf carts use a fixed pack voltage, typically 24, 36, or 48 volts, and you must buy and wire batteries so their nominal voltages add up to that pack voltage. Check the data plate on the cart or the owner’s manual for the required pack voltage and the charger voltage, those two numbers must match the batteries you install.
Start by locating the cart data plate, usually under the seat, under the floorboard, or inside the rear access panel; it will list the nominal pack voltage and often the factory battery arrangement. If you cannot find the plate, open the owner’s manual or contact the manufacturer with the cart serial number; do not guess the pack voltage from the charger alone unless the charger is labeled clearly.
Battery voltages that are commonly used for golf carts are 6 volts, 8 volts, and 12 volts. When batteries are connected in series their voltages add, so the required count is the pack voltage divided by the single-battery nominal voltage.
| Pack Voltage | 6V batteries | 8V batteries | 12V batteries |
|---|---|---|---|
| 24 V | 4 × 6V | 3 × 8V | 2 × 12V |
| 36 V | 6 × 6V | N/A (not whole number) | 3 × 12V |
| 48 V | 8 × 6V | 6 × 8V | 4 × 12V |
For example, a 48 volt club cart can use eight 6V batteries, six 8V batteries, or four 12V batteries, but the physical battery size, terminal type, and cable routing must fit the tray and harness. Different layouts change tray spacing and terminal orientation, so match form factor as well as voltage.
Safety warning: Do not mix battery chemistries, ages, or capacities in the same pack, and do not install batteries that change the cart pack voltage from the factory rating; mismatched voltage or old/new mixes cause poor performance and can damage batteries and wiring.
Series vs Parallel Choices
Series wiring increases the total pack voltage by adding battery voltages end-to-end, while parallel wiring increases available amp-hour capacity by joining like-voltage batteries side-by-side. Golf carts almost always use series chains to meet the motor controller’s required system voltage, and adding parallel strings changes capacity but complicates balancing and charging.
For example, builders reach common cart voltages by putting several nominal 6 V or 8 V batteries in series rather than changing the motor, but putting parallel strings of those series chains should only be done with matched banks and a charging strategy that equalizes each string. When in doubt, replace the entire bank with batteries of the same model, capacity, and manufacture date and follow the cart manufacturer’s wiring diagram.
Capacity, Wattage, Runtime
Pack runtime is set by the pack amp-hour rating at the pack voltage, so hours = Ah divided by the average amp draw, or convert to watt-hours with Wh = Ah × volts and divide by watts for device-level estimates. Charge and discharge limits are shown as a current or C-rate on the battery label, and exceeding those limits shortens life or can cause overheating and failure.
When wiring golf cart batteries the usable capacity you wired into the pack is the number to use for runtime calculations, not the capacity of a single cell unless the pack contains only one battery. Verify the nominal pack voltage after wiring, because Wh calculations must use that voltage.
Depth of discharge shortens battery life. Repeated deep discharges reduce cycle life for lead-acid and many other chemistries, so limiting usable DoD or increasing pack Ah reduces wear. Check manufacturer recommendations for target DoD and size the pack so that your regular trips use a modest percentage of the rated Ah rather than emptying the pack.
Wire, Connectors & Torque
When wiring golf cart batteries, it is crucial to select the appropriate cable gauge and connectors to ensure safe and efficient operation. Proper torque on terminals helps prevent overheating and voltage loss, which can significantly affect performance.
Following these guidelines will help ensure that your golf cart batteries are wired safely and effectively, improving performance and extending battery life.
Step-by-Step Wiring Procedure
Always isolate the cart and any chargers, wear eye protection and insulated gloves, and remove metal jewelry before touching terminals. Correct series wiring is positive-to-negative links between batteries, with the pack’s two free end terminals serving as the total-voltage positive and negative.
For example, common layouts are simple series strings using 6V or 12V deep-cycle batteries; count batteries so their voltages sum to the target pack voltage.
| Target Voltage | Typical Battery Count |
|---|---|
| 36V | Six 6V or three 12V in series |
| 48V | Eight 6V, six 8V, or four 12V in series |
Charger Compatibility & Settings
A charger must match the battery pack voltage and the battery chemistry to charge golf cart batteries safely and fully. Using the wrong pack voltage or a charger set for the incorrect chemistry will shorten life, reduce capacity, and can create unsafe conditions.
Start by reading the battery labels and the cart’s specification plate to confirm the nominal pack voltage and the amp-hour rating. Verify whether the pack is made of flooded lead-acid, AGM, or gel cells and whether a Battery Management System, BMS, or automatic equalizer is present.
Safety, Maintenance, Troubleshooting
When wiring golf cart batteries always respect polarity and ventilation: connect the negative terminal of one battery to the positive terminal of the next for a proper series string, and keep the charging area ventilated because hydrogen gas is produced during charging. Tight, clean connections and insulated tools prevent sparks that can ignite off-gassed hydrogen, and batteries that run hot, swell, or hold low voltage under load must be removed and replaced.
Hydrogen off-gassing and ventilation rules: Charge or equalize batteries in a well-ventilated area, away from open flames, pilot lights, or smoking. Place the pack so vents are unobstructed and avoid enclosing batteries in tight compartments during a high-current charge cycle.
Watering, equalization, and float storage tips: Keep flooded cells topped to the plate with distilled water only, filling to the recommended level on each cell, never overfilling. Perform an equalization charge per the manufacturer schedule to correct cell imbalance, but only with proper ventilation and charger settings for your battery chemistry.
For storage, bring batteries to full charge, disconnect wiring, and store at a cool stable temperature on a float or periodic top-up charge to avoid deep discharge and sulfation. Check voltage monthly and recharge any battery that falls below the manufacturer recommended float voltage.
Signs to replace batteries: Replace any battery that shows persistent heat under normal use, physical swelling, cracked case, leaking electrolyte, or a cell that falls to a substantially lower voltage than the others even after charging. Also replace if run-time drops sharply or the battery will not accept a normal charge.
When in doubt, stop and consult the cart manufacturer or battery supplier for the correct series configuration and charging profile, and replace any battery that shows physical damage or persistent electrical failure. Working carefully prevents sparks around hydrogen, and routine maintenance keeps series wiring safe and reliable.
Quick Practical Summary
Wire golf cart batteries so the pack voltage matches the motor controller and charger, using series connections to reach the required voltage and parallel only to increase capacity. Always protect the main positive run with a correctly rated fuse or circuit breaker and confirm each terminal is clean and torqued before first use.
For example, many carts use stringed 6 volt batteries to build a 36 volt or 48 volt pack; the exact layout depends on your cart. If you change configuration, update labels and the charger settings, and confirm the controller accepts the new pack voltage.
Warning: A shorted battery cable can produce sparks, melted lugs, or fire within seconds, so remove jewelry and keep metal tools insulated while working.
| Verify | Where to check | Acceptable result / action |
|---|---|---|
| Pack voltage | Controller label or spec sheet | Battery string voltage equals controller requirement, or reconfigure batteries |
| Individual cell voltages | Each battery terminal with multimeter | Uniform voltages, large deviations require replacement or reconditioning |
| Main fuse | Positive main cable near batteries | Installed and rated for wiring and motor current |
| Charger match | Charger label and pack voltage | Charger output equals pack voltage and chemistry |
If anything looks wrong or measurements are inconsistent, stop and get a trained technician to check the wiring and batteries. Double-checking wiring and protection now prevents damage, safety incidents, and unexpected downtime later.
Quick Summary
Wire golf cart batteries to match the cart’s required system voltage, using identical batteries, correct wiring configuration, and proper cable sizing.
Frequently Asked Questions
How do I wire golf cart batteries to get the correct system voltage?
You can wire batteries in series to reach the pack voltage, for a 48V system the batteries must total 48V, for example four 12V, eight 6V, or six 8V batteries.
Can I mix different battery brands, ages, or voltages when wiring golf cart batteries?
You can avoid big problems by keeping batteries matched, do not mix voltages and keep capacity within about 10% across the pack to reduce imbalance and premature failure.
Is it normal for golf cart batteries to get hot when wiring or charging them?
You can expect batteries to be warm during charging, but if any battery exceeds 120°F (49°C) stop charging and check ventilation and connections.
How can I estimate runtime after wiring a new set of golf cart batteries?
You can estimate runtime by dividing the pack amp-hour (Ah) rating by average current draw, for example a 225 Ah pack drawing 40 A will run about 5.6 hours (225 ÷ 40), actual range varies with load and terrain.
What common wiring mistakes should I avoid when installing golf cart batteries?
You can prevent failures by following the wiring diagram, keeping polarity consistent, and using proper cable and protection, verify each battery voltage before connecting and ensure voltages are close so no cell differs by more than about 0.1 to 0.2 V under resting conditions.