
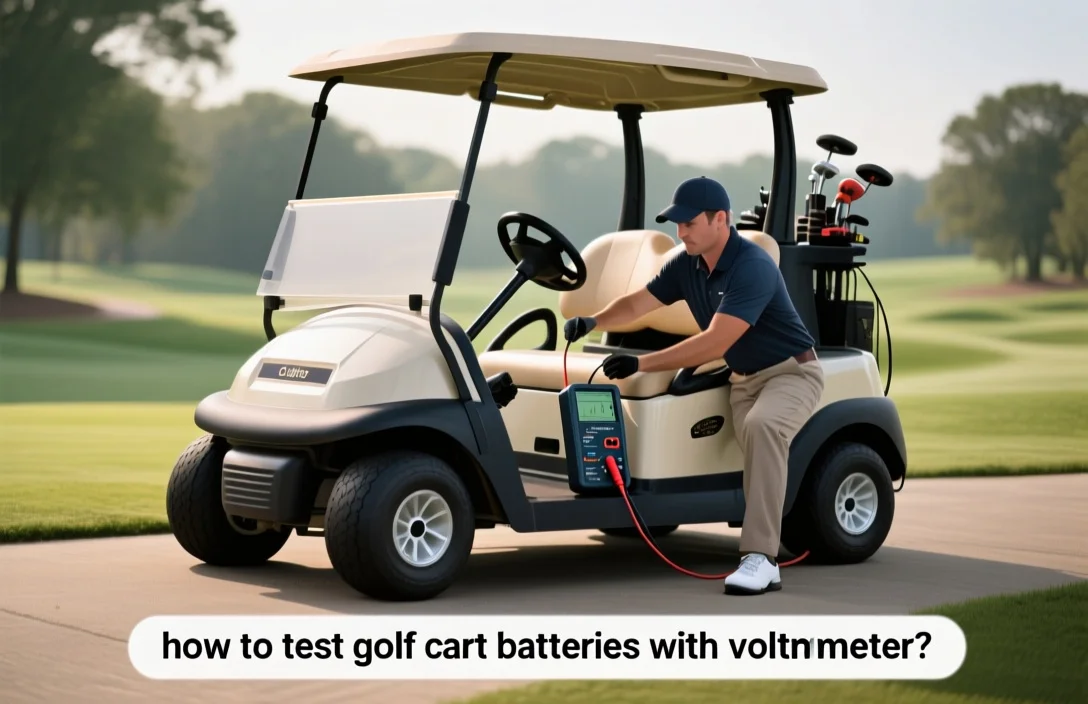
How to test golf cart batteries with a voltmeter?
A single weak 6V battery in a 48V golf cart pack reduces pack voltage by 6V, about 12.5 percent, and often causes slow acceleration or no-starts. A cheap voltmeter will find that weak cell fast. The most common mistake is testing while the charger is attached, so set your meter to DC volts first.
How to test golf cart batteries with a voltmeter: Set the meter to DC volts, measure each battery at rest (ideally 6 to 12 hours after charging), and compare readings to nominal voltages. A 12V battery should read about 12.6V fully charged; below 11.9V indicates likely replacement, 6V cells are roughly half those values.
Safety and prep steps
Before you touch a voltmeter to a golf cart battery, put on eye protection and acid-resistant gloves, turn off and unplug any charger, and make sure the battery is in a well ventilated area with spill controls at hand. Visually inspect each battery for heat, swelling, cracks, leaks, or terminal corrosion and record the battery label information before measuring voltage.
Personal protective equipment is essential. Wear safety glasses that seal at the sides and chemical-resistant gloves, and avoid loose jewelry or metal watches near terminals.
For example, if a battery shows white powdery buildup or a cracked case, do not attempt normal testing; treat it as a damaged battery and replace or service it per the manufacturer instructions. If everything looks intact, let the battery rest for several hours after charging or driving to avoid a misleading surface-charge reading before you take voltmeter measurements.
Battery basics for testing
Golf cart battery packs are most often lead acid, either flooded wet cells or AGM, with growing use of lithium iron phosphate in newer or retrofitted systems. Packs are built by putting multiple battery blocks in series to hit system voltage, so a 36 volt cart typically has three 12 volt or six 6 volt blocks in series, and a 48 volt cart commonly uses six 8 volt or eight 6 volt blocks.
Lead acid battery “cells” are roughly 2.1 volts each, so a 6 volt battery contains three cells and an 8 volt block contains four cells. LiFePO4 cells are different, at about 3.2 to 3.3 volts nominal per cell, so lithium packs use fewer larger cells to reach the same pack voltage.
Open circuit voltage, the number your voltmeter shows when the pack has been idle, gives a quick approximation of state of charge. For lead acid, there are well known typical voltage-to-SoC ranges, but those apply only after the battery has rested and surface charge has dissipated; immediately after charging the voltage sits higher than true charge.
| Typical lead acid voltages | Per 12V block | Approx SoC |
|---|---|---|
| Fully charged | ~12.6 to 12.7 V | 100% |
| Partially charged | ~12.2 to 12.4 V | 50-75% |
| Discharged | <12.0 V | <50% |
Tools and voltmeter setup
A reliable digital multimeter set to DC volts and rated for at least the maximum pack voltage is the primary tool for testing golf cart batteries. Choose a meter with high input impedance (ideally 10 megaohm), 0.01 volt resolution on low ranges, and clear polarity indication to avoid misleading readings.
| Item | Amount / Specification | Notes |
|---|---|---|
| Digital multimeter | Auto or manual DC V, range to 60 V or higher | Prefer 10 MΩ input impedance, 0.01 V resolution on low ranges |
| Test leads and insulated probes | Good quality, rated for meter | Replace cracked insulation; use probe caps or crocodile clips for firm contact |
| Safety gloves and eye protection | Insulating gloves, safety glasses | Protects against acid spray and accidental shorts |
| Terminal brush / cleaner | Wire brush or baking soda solution | Clean terminals before measuring for consistent contacts |
| Optional load tester or resistive load | Rated for battery voltage and current | Use a purpose-built battery load tester when available |
| DC clamp meter or shunt | DC-capable clamp or known shunt | For current checks use DC clamp or install a shunt and measure voltage across it |
Set the meter to a DC volts range that comfortably exceeds the highest voltage you will measure. For single golf cart batteries that are commonly 6 volts, use a 20 V DC range; for full packs that are 36 V or 48 V, use a range above the pack voltage, for example 200 V DC on many meters.
Auto-ranging meters are convenient but manual ranges can give better resolution and avoid range hunting while you probe terminals. Verify meter accuracy by measuring a known source, such as a fresh 1.5 V cell or a calibrated reference, before trusting a diagnosis.
Probe care and polarity checks: inspect probe insulation and tip condition before every use. Always connect the black lead to the meter COM jack and the red lead to the volt/positive jack, touch the red probe to the battery positive terminal and the black probe to the battery negative, and confirm polarity on the display.
Probe technique matters, hold probes by the insulated shank and keep fingers away from metal tips to avoid slipping and shorting adjacent terminals. If terminals are close, use insulated probe caps or clip leads to secure contact and prevent bridging multiple posts.
Measuring resting voltage
Resting, or open circuit, voltage is the battery voltage after it has been disconnected from chargers and loads long enough for surface charge to disappear. For golf cart batteries, allow at least 8 to 24 hours off charge or use before measuring; longer rest gives a more reliable indication of state of charge and cell balance.
Safety first: turn off the cart, remove the charger, wear eye protection and gloves, and keep metal tools away from terminals. If cells are swollen, leaking, or hot, stop and arrange professional service rather than continuing tests.
Logging: keep a simple table with date, rest hours, ambient temperature, whole-bank voltage, per-battery voltages, and per-cell voltages if measured. Consistent logs across weeks or cycles reveal trends, letting you tell slow capacity loss from a single bad cell or a bad connection.
Load testing with voltmeter
A simple load test shows how a golf cart battery handles real current, revealing high internal resistance and lost capacity by the size of the voltage drop and how fast voltage recovers after the load is removed. If voltage sags sharply under a short, controlled load or does not return close to its prior level within a minute, that battery is likely weak and should be confirmed or replaced.
Safe short-duration load options:
For example, if a single 6 volt battery in a pack drops much more than its neighbors under the same light load and does not recover to near its pre-load voltage within 30 to 60 seconds, that battery should be treated as weak and confirmed with a professional test or replaced. Always follow manufacturer guidance for test currents and thresholds when available.
Interpreting results & capacity
A voltmeter gives a useful snapshot: open-circuit voltages map roughly to state-of-charge, and consistent low or mismatched readings point to sulfation, bad cells, or reduced usable amp-hours. Treat voltmeter results as diagnostics, not a guarantee of remaining capacity, and follow up with a capacity or conductance test when voltages are low, diverging across the string, or the pack fails to run normal loads.
Reference voltage ranges and estimating state-of-charge
Measure open-circuit voltage after the battery has been charged and rested for 6 to 12 hours, and avoid relying on a reading taken immediately after charging or a heavy use period. Temperature affects readings, colder makes voltages read lower, warmer reads higher, so use the table below as conservative, approximate guides at room temperature.
| SOC (approx) | 6 V battery | 12 V battery |
|---|---|---|
| 100% | ~6.3 V to 6.4 V | ~12.6 V to 12.8 V |
| 75% | ~6.1 V | ~12.4 V |
| 50% | ~5.9 V | ~12.2 V |
| 25% | ~5.7 V | ~12.0 V |
| Empty/Bad | <5.6 V | <11.9 V |
Use these as conservative cutoffs. If a 6 V battery reads below about 5.6 V at rest, or a 12 V string below about 11.9 V, the pack will have very limited usable capacity and needs further testing or service.
Sulfation – Symptom → Cause → Fix
Symptom: Resting voltage may look low, the battery accepts charge slowly, and voltage falls quickly under even light load. You might also see one battery in a series string that briefly reaches a decent voltage after charging then collapses under load.
Cause: Long time at partial state-of-charge or extended storage discharged causes lead-sulfate crystals to harden on plates, lowering surface area and charge acceptance. The symptom appears despite a charger that shows full charge, because sulfated plates hold little usable amp-hours.
Fix: Try a full, multi-stage charger and an equalize cycle if the battery is flooded and manufacturer allows it, then retest after rest. If capacity remains poor, pursue professional desulfation or replacement, because heavy sulfation usually reduces long-term usable life.
Safety: Equalizing produces hydrogen gas, so perform it outdoors or in a ventilated area and wear eye protection and gloves.
Cell imbalance and failing capacity – Symptom → Cause → Fix
Symptom: Individual batteries in a bank show different voltages at rest, for example one 6 V battery reads 5.6 V while its neighbors read 6.2 V, or a string fails under short normal load though voltmeter readings looked acceptable. Symptoms include reduced run time and uneven charging across the string.
Cause: Aging, a weak cell, internal short, or different maintenance histories cause one battery to lose capacity faster than the others, which drags the whole pack down because series strings are limited by the weakest unit. Cell-level shorts or plate damage create permanent capacity loss that a voltmeter can only hint at.
Fix: Charge the pack, isolate and measure each battery individually, and swap or replace the low unit. If batteries are several years old or show more than about 0.1 to 0.2 V difference at rest across the string, plan for a capacity test or replacement rather than continuing to mix old and new units.
When the voltmeter shows low resting voltage, rapid collapse under simple loads, or inconsistent readings across the string, run a full capacity test or have a shop perform conductance testing to measure actual amp-hours and internal resistance. A proper capacity test charges to full, lets the pack rest, then discharges at a controlled current to a cut-off voltage while recording amp-hours delivered; conductance testers give a quick health estimate but may not replace a full Ah test for borderline packs.
Charger compatibility & follow-up
After you record voltmeter readings, always match the charger to the pack voltage and battery chemistry before applying charge, because the wrong voltage or profile will shorten life and can void warranties. If cells are out of balance, plan an approved equalization only when the battery maker allows it and you have proper ventilation and charger settings.
Quick checklist
Safety reminder: If a battery is swollen, cracked, leaking, or very hot, do not attempt equalization or extended charging; isolate the pack and seek professional service. Proper charger matching and structured retesting protect battery life and keep warranty options intact.
Quick Summary
Use a voltmeter to measure each golf cart battery’s resting DC voltage, compare to manufacturer nominal voltage, and decide service needs.
Frequently Asked Questions
How do I test a golf cart battery with a voltmeter?
You can test by turning off the charger and accessories, setting your voltmeter to DC, and touching the red lead to the positive terminal and the black lead to the negative terminal to read the open circuit voltage. A fully charged 6 V battery reads about 6.3 V and a 12 V battery reads about 12.6 V.
How long does it take to test golf cart batteries with a voltmeter for an accurate reading?
You can get an instant voltage, but for an accurate open circuit reading you should wait after charging or use the battery after use then let it rest. Wait at least 2 hours after charging for a reliable resting voltage measurement.
Is it safe to test golf cart batteries with a voltmeter?
You can safely test if you disconnect the charger, wear eye protection, avoid shorting the terminals, and set the meter to an appropriate DC range. Use a DC range higher than the battery voltage, for example a 20 V DC range for single 12 V batteries, and keep metal tools away to prevent sparks.
What voltage indicates a golf cart battery needs replacement when tested with a voltmeter?
You can judge condition from resting voltage, but check the manufacturer first; as a general rule a severely weak battery will show low resting voltage. If a 6 V battery reads below 6.0 V at rest, or a 12 V battery reads below 12.0 V after proper rest, the battery is likely failing and needs further testing or replacement.
What common mistakes should I avoid when testing golf cart batteries with a voltmeter?
You can avoid bad results by not testing while the charger is connected, not using the wrong meter range, and not checking only the pack without individual batteries. Do not test while the charger is connected and wait at least 2 hours after charging to avoid misleading surface charge readings.