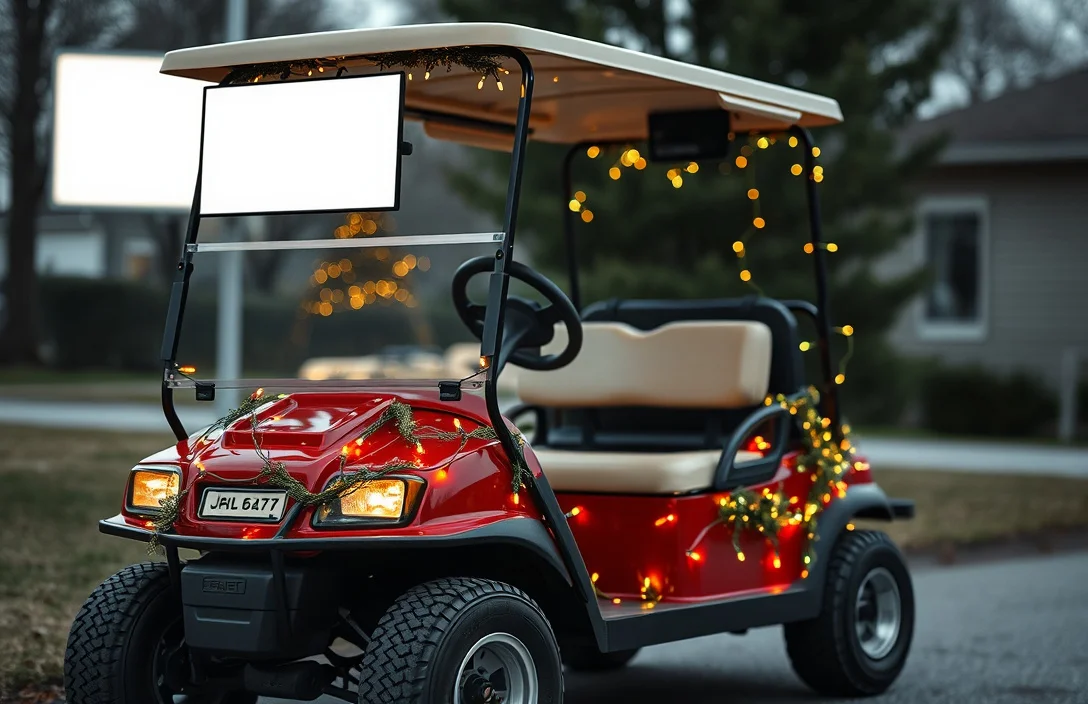
How To Safely Install Christmas Lights On Your Golf Cart
Power decision first: choose a safe way to feed the lights from the cart without killing the battery. The most important spec is cart voltage and the current the lighting draw can demand. The common mistake is tying lights directly to the main 36V/48V pack without a regulator. Check the cart’s voltage rating on the label near the charger or the 12V accessory outlet and confirm the light string voltage before wiring.
Lighting on a golf cart requires a safe power path. Use the cart’s 12V accessory circuit or a proper DC-DC regulator from the main pack; never wire LED strings directly to the 36V or 48V battery. Aim for a total light draw under 10 amps and use weatherproof connectors.
Benefits of Christmas Lights
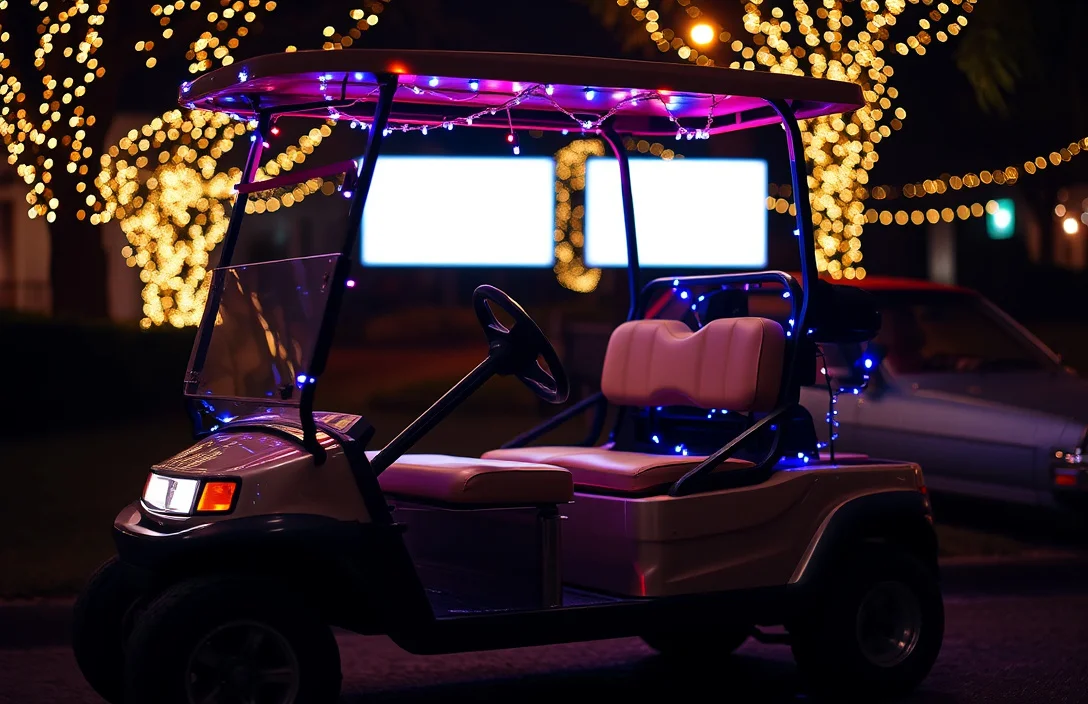
Benefits of Christmas Lights boost visibility around the golf cart, helping drivers and pedestrians spot it at dusk or after dark. They create a festive vibe that lifts mood and invites friendly interaction during holiday rides. A well-lit cart can become a focal point in nearby neighborhoods or club events, encouraging safer, slower traffic around it.
Benefits of Christmas Lights improve safety by making the cart conspicuous from a distance and along narrow club roads or parking areas. The brighter, well-placed strings reduce the risk of near misses and keep riders more noticeable during parades or slow drives. This conspicuity is especially helpful on shared walkways where foot traffic blends with golf carts.
Benefits of Christmas Lights increase participation in planned events and spontaneous gatherings by turning a ride into a small celebration. Color and pattern coordination can spark conversations, encourage photos, and reinforce the holiday theme for the group. For clubs, a themed display can become a memorable tradition that members look forward to each year.
Benefits of Christmas Lights can showcase a club’s identity or seasonal motif, helping teams and members locate their carts easily in crowded lots or at event check-in. Choosing a consistent color scheme and safe mounting supports recognition while maintaining a neat appearance. A practical setup also makes it easier to rotate decorations for different events without leaving permanent marks on the cart.
Benefits of Christmas Lights are relatively affordable and reversible, so you can test a few ideas without committing to permanent changes. LED options offer lower power use and less heat, which helps protect battery capacity and avoids overheating wiring during longer events. Using plug-in adapters or isolating the control from the main battery pack can minimize energy impact.
| Aspect | Benefit | Notes |
|---|---|---|
| Visibility | Improved conspicuity in low light | Use LED strings; position to avoid glare on drivers |
| Theme coordination | Clear holiday or club identity | Match colors to event branding |
| Safety discipline | Encourages cautious driving | Mounting should keep wiring away from moving parts |
Benefits of Christmas Lights on a golf cart should be seen as a seasonal upgrade, not a permanent modification. Keep power needs modest and ensure wiring remains secure and dry.
Benefits of Christmas Lights should be kept simple and weatherproof, with proper sealing of connections and secure mounting away from moving parts. Regular checks help prevent loose wires or corrosion that could impact performance during cold or wet weather.
Tools and Materials Needed
To install decorative lighting on a golf cart safely, gather weather-rated LED lighting designed for 12V operation and a simple mounting plan. Use outdoor-compatible connectors and a small inline fuse to protect the cart’s electrical circuit. A dedicated 12V power source from the cart battery or an approved auxiliary pack keeps power stable and reduces voltage drop to the lights.
| Item | Amount/Specification | Notes |
|---|---|---|
| LED 12V Outdoor String Lights | 3-5 m length, 50-100 LEDs, waterproof (IP65) | Choose warm white or festive colors; ensure 12V DC operation. |
| Inline Fuse Holder with Fuse | 1-5 A automotive blade fuse | Provides protection for the circuit; place close to power source. |
| 12V Automotive Wiring | 18-22 AWG two-conductor, red/black | Use outdoor-rated insulation; route away from moving parts. |
| Weatherproof Connectors | Two-pin SAE or weatherproof quick-disconnects | Facilitates removal and protects against moisture. |
| Mounting Hardware | Plastic cable clips, zip ties, adhesive-backed clips | Secure along rails and body panels without drilling. |
| Inline Switch | 12V DC rated toggle or rocker switch | Place for easy on/off access; keep switch dry. |
| Sealant & Wire Protection | Heat shrink tubing, outdoor-rated electrical tape | Seal connections against moisture and vibration. |
| Basic Tools | Wire strippers, crimping tool, small screwdriver set, scissors | Have kapasities for routing and securing wires. |
| Optional Brightness Control | PWM dimmer or controller for 12V LED strings | Helps manage draw and mood; ensure compatibility with lights. |
| Testing Gear | Multimeter or voltage tester | Check for correct 12V at the lights before final mounting. |
Selecting Compatible Lights
Lighting choices should run from the golf cart’s electrical system with low voltage and modest current draw. LED options provide bright, efficient illumination with minimal heat. Always total the wattage and stay within the circuit’s fuse limit to protect the battery and wiring.
Power Source Considerations
Battery capacity and wattage are critical factors when installing lights on a golf cart. The total wattage of the lights must not exceed the capacity of the golf cart’s battery system to avoid draining the battery too quickly or damaging it. Typically, golf carts operate on a 48V or 36V system, and understanding how much power the Christmas lights consume is essential for safe installation. Using an inverter is one option for powering lights, especially if the lights require standard AC power. An inverter converts the DC power from the golf cart’s battery to AC power, allowing you to use regular plug-in lights. However, this approach can significantly reduce battery runtime due to inverter inefficiencies. For instance, a 100-watt light set can draw approximately 12 amps at 48 volts, which could quickly deplete a standard golf cart battery. Direct connection to the battery is another method, which is generally more efficient. When connecting directly, ensure that the lights are designed for DC voltage and compatible with the golf cart’s battery. The connection requires careful attention to the voltage rating of the lights. Most LED Christmas lights can run directly on lower voltages, which makes them an excellent choice for this application.
Always consult the golf cart’s user manual for specific electrical ratings and guidelines to ensure safe operation.
Step-by-Step Installation
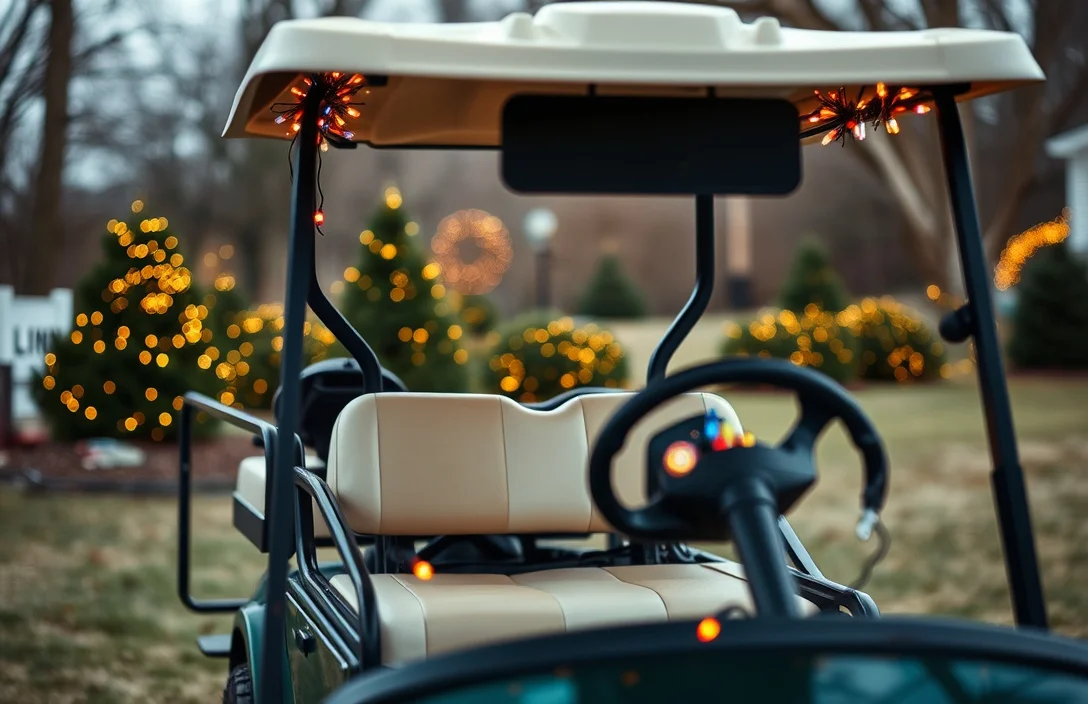
Planning the layout of Christmas lights on a golf cart is essential for both aesthetics and functionality. Before you begin, gather all materials, including lights, connectors, and tools. Make sure to choose LED lights, as they consume less power, which is critical when using a golf cart’s battery.
Safety Precautions
Overheating can occur when Christmas lights are improperly installed or exceed the electrical capacity of the golf cart’s power source. To prevent overheating, ensure that the lights used are rated for the voltage of the golf cart’s electrical system and do not exceed the recommended wattage for the circuit. Always monitor the lights during operation to detect any signs of excessive heat.
Avoiding short circuits is critical when adding lights to any electrical system. Ensure all connections are secure and insulated. Use appropriate connectors and avoid using frayed or damaged wires.
Short circuits can damage the electrical system of the golf cart and pose a fire hazard. Always double-check connections.
In practice, a good rule of thumb is to use LED lights as they consume less power and generate less heat compared to incandescent bulbs. This reduces the risk of overheating and helps maintain battery life.
When connecting to the golf cart’s battery, ensure the following:
In summary, careful planning and execution are essential for safely installing Christmas lights on a golf cart. By adhering to these safety precautions, you can enjoy festive lighting without compromising safety.
Maintenance and Storage Tips
Cleaning and Inspecting Lights: Clean the lighting strings before use and inspect every section for damaged insulation, broken lamps, or corroded connectors. Replace or segment out damaged sections to prevent shorts. After use, allow cables to dry completely before storage.
Cleaning and Inspecting Lights: Moisture and exposure checks should be performed after outdoor runs, especially in wet or snowy weather. If lighting is damp, dry with a lint-free cloth and let air-dry before packing, ensuring plugs and connectors stay dry.
Proper Storage Methods: Coil cords loosely, avoid tight bends, and store in a dry, temperature-stable container to prevent kinks and insulation fatigue. Do not stack heavy objects on top of the lights, which can damage the coating.
Proper Storage Methods: Use original packaging or a labeled tote, separate connectors in a sealed bag, and note length, voltage, and any transformer or battery requirements. This makes winter storage and re-installation faster and safer.
| Light Type | Recommended Storage Temperature | Moisture Sensitivity | Storage Tip |
|---|---|---|---|
| LED string lights | 60-75 F (15-24 C) | Low | Store in a rigid tub to avoid crushing |
| Traditional mini lights | 60-75 F | Medium | Keep in original box with bulbs secured |
Safety note: Never store lights while they’re plugged in. Disconnect power and remove any batteries or adapters before packing, and keep connectors dry to prevent corrosion.
Storage Checks: Periodically verify stored lights for signs of aging, brittle insulation, loose plugs, or rodent damage, and replace any suspect strings before next season.
Troubleshooting Common Issues
Power issues often come from tapping the wrong source, using undersized wiring, or loose connections. The safest approach is to feed 12V lighting from a dedicated, fused 12V circuit or a properly rated DC-DC converter, not directly from the main high voltage pack. Keep runs short, use automotive-grade connectors, and seal against moisture.
Power source and wiring limitations
Symptom → Lights dim or flicker when the cart is under load. Cause → The 12V feed cannot supply the current for all strings, and long runs add resistance causing voltage drop. Fix → Install a dedicated, fused 12V circuit or a DC-DC converter sized for the total draw, choose appropriate wire gauge (12 or 14 AWG for most automotive runs), and route the wiring to minimize length and exposure. Place the fuse close to the source and ensure a solid ground.
In practice, calculate total current by adding each string’s current draw, then select a converter and wiring that leave a margin for startup surges.
For example, a pair of 5 meter LED strings that draw 0.25 A each total 0.5 A, which is easy for a modest setup, but bright long runs or additional sections can push current higher. After installation, verify 12V at the far end with a multimeter under load to confirm acceptable voltage.
Moisture and connection corrosion
Symptom → Connectors become dull or lights flicker after rain. Cause → Water ingress or oxidation at exposed connections, often from imperfect seals or outdoor exposure. Fix → Use IP-rated waterproof connectors, seal joints with heat shrink or dielectric grease, and avoid leaving bare copper exposed. Route harnesses away from spray zones and test for tight seals after wet conditions.
For example, mount inline connectors in protected cavities or under the cart body where rain cannot pool. Use sealed glands where wiring enters enclosures and recheck seals seasonally. Keep connectors dry during maintenance and re-seal any cracked or hardened insulation promptly.
Polarity and fusing issues
Symptom → Lights do not light or a fuse blows when switching on. Cause → Polarity is reversed or the fuse is undersized for the total current. Fix → Verify the positive lead from the DC-DC output goes to the LED string plus, the negative to the minus, and replace any blown fuse with one rated for the actual current. Ensure the DC-DC converter is set to 12V and that all wiring runs have proper insulation and strain relief.
In practice, if a single section stays dark, recheck the connector orientation and test resistance. If fuses trip frequently, measure current draw with a meter and adjust fuse rating or wire gauge accordingly. Avoid cheap, untested adapters that ignore polarity and overload ratings.
Quick Summary
Match the light voltage to your cart’s system, use a proper power source, and secure wiring for safe, festive golf cart lighting.
Frequently Asked Questions
How can I verify compatibility between my golf cart battery setup and Christmas lights?
First, identify your cart’s pack voltage (often 36V or 48V) and choose light strings rated for that voltage. If you mismatch, the lights may dim or the pack could be stressed. Consider adding an appropriate fuse and keeping the overall load well below the cart’s maximum output.
How can heat generated by the lights affect my golf cart setup and what can I do to minimize it?
LED strings are cooler and use far less power than incandescent, typically about 1-3 W per foot depending on the type. To minimize heat and electrical stress, route wires away from hot components and use outdoor-rated connections.
How long will Christmas lights run on a golf cart battery and how can I estimate runtime?
Estimate runtime by using the battery’s energy in Wh and the lights’ draw in watts. A 48V 100Ah pack has about 4800 Wh, so at a 60 W load the theoretical runtime is about 80 hours, though real-world performance will be lower.
What safety steps should I take when mounting lights on a golf cart?
Choose outdoor-rated, weatherproof LED strings and route wires away from wheels and hot components to reduce snag and heat risk. Keep all connections dry and unplug during charging or storage.
What buying mistakes should I avoid and when should I replace worn lights?
Common buying mistakes include using indoor-only lights and not confirming voltage compatibility, which can cause dimming or damage. Replace worn strings after about 2 seasons or if you notice fraying or loose connections.