How to charge golf cart batteries individually?
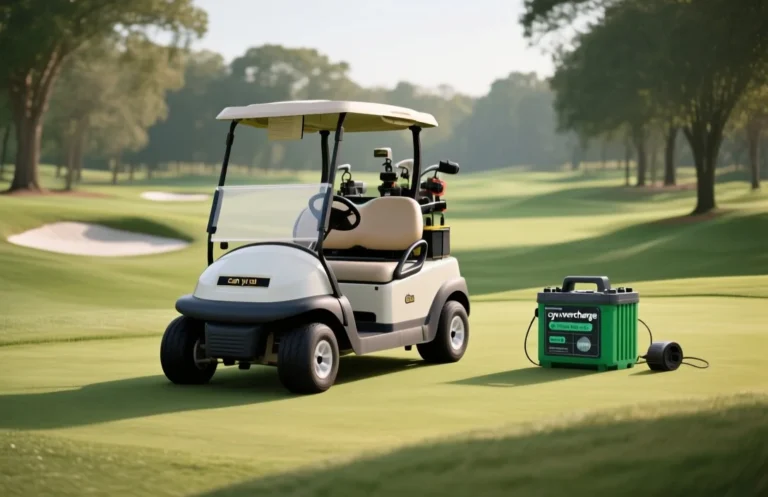
A typical golf cart runs on a multi-battery pack totaling 36V or 48V, but the pack is made of individual 6V, 8V, or 12V deep-cycle batteries. The single most important spec when charging a battery individually is its nominal voltage. A common mistake is using a charger set for the whole pack, which causes imbalance. Start by checking the battery label for voltage and the charger output or selector setting.
Golf cart batteries can be charged individually with a single-battery charger matched to the battery’s nominal voltage (commonly 6V or 8V). Set the charger to the battery’s recommended amp rate, connect correct polarity, and charge until full voltage or specific gravity is reached; a full charge typically takes 6 to 12 hours.
Why charge individually?
Charging a golf cart battery individually is useful for isolating a weak or failing battery, conditioning a new replacement, or correcting state-of-charge differences inside a series bank. It can restore performance for a single bad cell, but it takes extra time and creates balance and warranty risks if done improperly.
When it helps: charging one battery at a time lets you confirm which battery has low capacity or high self-discharge, bring a swapped-in replacement to the same full-voltage level as the rest, and finish a charging session quickly for a single unit without running the whole bank. Use this when voltmeter checks show one battery several tenths of a volt lower than the others after a full charge, or when you replace only one battery in a matched set.
When it hurts: charging individually can hide bank balance problems, produce uneven acid stratification in flooded cells, and allow a newly topped battery to overwork older, weaker batteries once reinstalled. If you do not isolate the battery properly, you can back-feed current into the rest of the bank through wiring and chargers, producing false readings and safety hazards.
For example, if you replace one 6-volt battery in a three-battery 36-volt string, bringing the new unit to full float before reconnecting prevents large current flows at first startup. However, if the other batteries are aged or sulfated, the newly charged battery will discharge quickly and accelerate failure unless you address the whole bank balance.
| Situation | Why individual charging helps | Trade-offs and suggested action |
|---|---|---|
| Troubleshooting | Pinpoints low-capacity battery by charging and re-testing its capacity separately. | Time-consuming, isolate battery first, log voltage and specific gravity if flooded. |
| Replacement conditioning | Brings a new battery to full charge so it matches the bank before reconnection. | Record serial and date for warranty, then monitor after reinstalling for rapid discharge. |
| Bank balancing | Can correct a single low battery when full-bank equalization is not available. | Only a temporary fix unless you address underlying aging or sulfation of other batteries. |
| Quick return to service | Allows vehicle back in service when only one battery limits starting or range. | Risk of repeated failures, plan for full bank service soon after. |
Battery voltage & capacity
Always confirm the battery’s nominal voltage, amp-hour rating, and chemistry from the nameplate before charging it individually, and measure its terminal voltage and any state-of-charge indicators so you know how discharged it is. Those four pieces of information determine the safe charge voltage, the maximum recommended charge current, and whether that battery can be serviced separately from the series string.
Nominal voltage is the labeled cell or battery voltage used for system design, while terminal voltage is the actual voltage you measure at the posts and changes with state of charge and load. Never assume terminal voltage will equal nominal when the battery is under charge or immediately after being charged, a resting measurement is more useful for SOC checks.
Amp-hour, or Ah, is the battery’s capacity rating and tells you how much current it will deliver for a set time, for example a 100 Ah battery can theoretically deliver 100 amps for one hour or 10 amps for ten hours. Use the Ah rating to pick a safe charge current; refer to the battery maker’s recommended maximum charge current because overcurrent shortens life and raises temperature.
When in doubt, follow the battery manufacturer’s specs on voltage, charge current, and maintenance. If no documentation is available, document your measurements and proceed conservatively while planning to replace or professionally test any battery that behaves abnormally.
Charger types compatibility
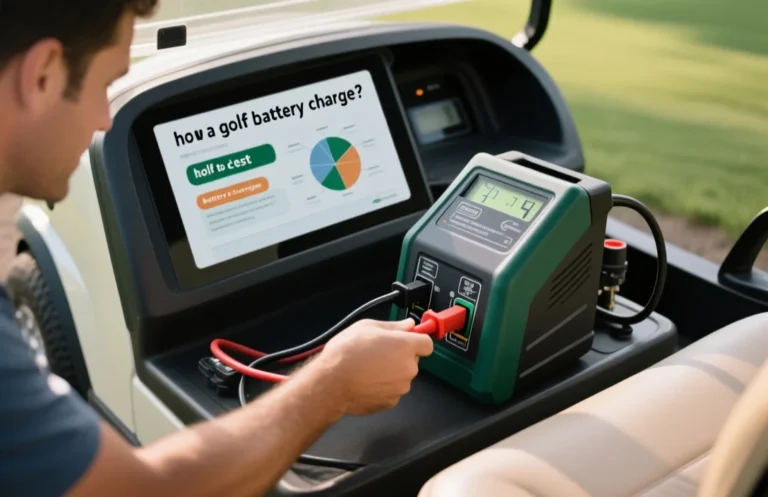
Charge each golf cart battery with a charger whose output voltage matches the battery nominal voltage and whose charge profile suits the battery chemistry; single‑bank chargers work for one battery, multi‑bank chargers have isolated channels for charging several batteries separately, and bench chargers give the most control over voltage and current. Verify the charger lists voltage, maximum output current, supported chemistries, and whether it performs bulk, absorption, float, and optional equalize stages before connecting a single battery.
| Charger type | How it handles an individual battery | Specs to check | Best use |
|---|---|---|---|
| Single‑bank charger | One isolated output, automatic multi‑stage in many models | Output voltage match, max amps, chemistry selection, float mode | Home charging one removed battery, simple and safe |
| Multi‑bank charger | Separate channels, can charge several batteries at once without linking them | Are outputs isolated, per‑bank current limits, independent settings | Fleet or multiple battery maintenance where batteries are removed and charged individually |
| Bench/adjustable charger | User sets voltage and current, can do controlled equalize cycles | Adjustable voltage/current, meter or display, temperature compensation option | Repair shop or when you need precise control for sulfation recovery or testing |
Voltage and current matching are the first checks. For typical golf cart batteries that are 6V, 8V, or 12V cells, use a charger that outputs that same nominal voltage; never apply a higher nominal voltage. For current, manuals commonly recommend charging currents in the range of C/10 to C/5, meaning about 10 to 20 percent of the battery ampere‑hour rating, but verify the battery maker’s recommendation.
Charge stages matter for battery life. Bulk phase applies most current until near the target voltage, absorption holds voltage while current tapers to finish absorption, and float holds a lower maintenance voltage. Equalize is a deliberate higher voltage soak for flooded lead‑acid to balance cells, and must not be used on AGM, gel, or lithium unless the manufacturer explicitly allows it.
Use chargers with proper safety certifications, and never charge a swollen, leaking, or hot battery.
Preparing and isolating battery
Isolate the single battery from the series string by removing its series links and insulating the exposed posts, then label both cable ends and the battery so you can reconnect correctly. Place the charger on a nonconductive, well ventilated surface away from the cart and confirm the charger output matches the battery voltage before applying power.
Safety first: wear eye protection and acid-resistant gloves, remove the key, and disconnect any on-board chargers or accessories before touching terminals. If a battery is swollen, leaking, cracked, or very hot, do not attempt to charge it; replace it or contact a professional.
Step‑by‑step charging process
Charge the removed golf cart battery to its full state of charge using the battery maker’s recommended voltages and a controlled current, following bulk, absorption, and float stages, then top with distilled water and reconnect only after voltages match the rest of the pack. Record voltages and specific gravity readings before and after charging so you can compare cells and spot a failing battery.
Warning: do not charge a battery that is cracked, swollen, leaking, or excessively hot; stop and replace it. When in doubt about voltages and equalization, follow the battery maker’s manual rather than guessing settings.
Safety risks and mitigation
Charging a single golf cart battery in isolation concentrates the same hazards that occur when charging a whole pack: hydrogen gas can accumulate, electrolyte is corrosive, and excessive heat or the wrong charging profile can cause permanent damage or fire. Mitigation is simple, but nonnegotiable: ventilate, shield, wear acid-resistant PPE, choose a charger rated and certified for the battery type, and stop charging immediately if you see heat, swelling, or leaking.
Charging batteries one at a time raises trade-offs. Individual charging reduces stress from imbalanced strings, but it also removes mutual ventilation between cells and places a single point of failure in an open area, so plan the charging location and monitoring accordingly.
Always check the battery and charger manuals before individual charging and follow the manufacturer’s required charging profile and safety warnings. When in doubt about venting, certification, or an abnormal battery condition, treat the battery as hazardous and get professional help.
Testing, troubleshooting & replacement
Before and after charging each golf cart battery individually, measure its resting open circuit voltage and the cell specific gravities, then run a load or conductance test to confirm the battery can hold and deliver charge. If a cell shows a much lower resting voltage, a significantly different specific gravity from its neighbors, or fails a load or conductance test, it should be serviced or replaced rather than repeatedly charged.
| Test | What it shows | Action if fail |
|---|---|---|
| Resting voltage | Overall state of charge and open-circuit health | Compare to spec, repeat after charge, consider load test |
| Specific gravity | Individual cell charge and balance for flooded cells | Replace cell or battery if gravities remain unequal after charging |
| Load / conductance | Deliverable capacity under load | Replace battery when it cannot meet rated load or conductance is low |
Quick Summary
Charge each golf cart battery individually using a charger matched to the battery voltage and chemistry, following safety and balancing steps.
Frequently Asked Questions
What type of charger should I use to charge golf cart batteries individually?
You can use a dedicated golf cart battery charger or a regular battery charger with the correct voltage rating, typically 36V or 48V, depending on your battery system.
Is it safe to charge golf cart batteries individually?
Yes, charging batteries individually can enhance safety, as it allows you to monitor each battery’s condition, but ensure you follow the manufacturer’s guidelines to avoid overcharging, which can lead to heat buildup and potential damage.
How long does it take to charge a golf cart battery individually?
The time to charge can vary, but it generally takes about 8 to 12 hours to fully charge a depleted battery when using a standard charger, depending on the battery’s capacity and state of charge.
What common mistakes should I avoid when charging golf cart batteries?
A common mistake is not using the correct charger voltage or polarity; always check that your charger matches the battery specifications to prevent damage or safety hazards.
When should I replace my golf cart batteries?
You should consider replacing your golf cart batteries every 4 to 6 years, depending on usage and maintenance; signs of decreased performance or swelling are clear indicators that replacement is necessary.