Reupholstering Golf Cart Seats: Materials, Steps, And Power Options
Power safety first. The most important spec when adding power to a golf cart seat is the cart’s voltage and fuse rating for any outlets. The common mistake is leaving wires unsecured near foam, which can pinch or short when you sit down. Start by turning off the main power disconnect and locating the seat fuse box.
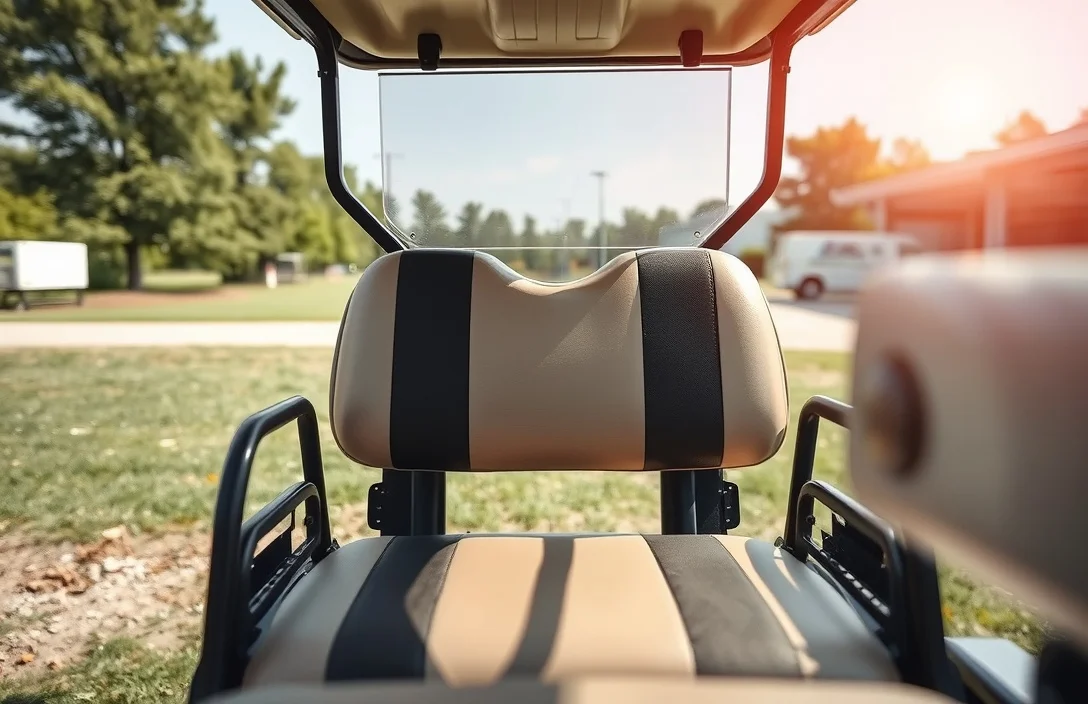
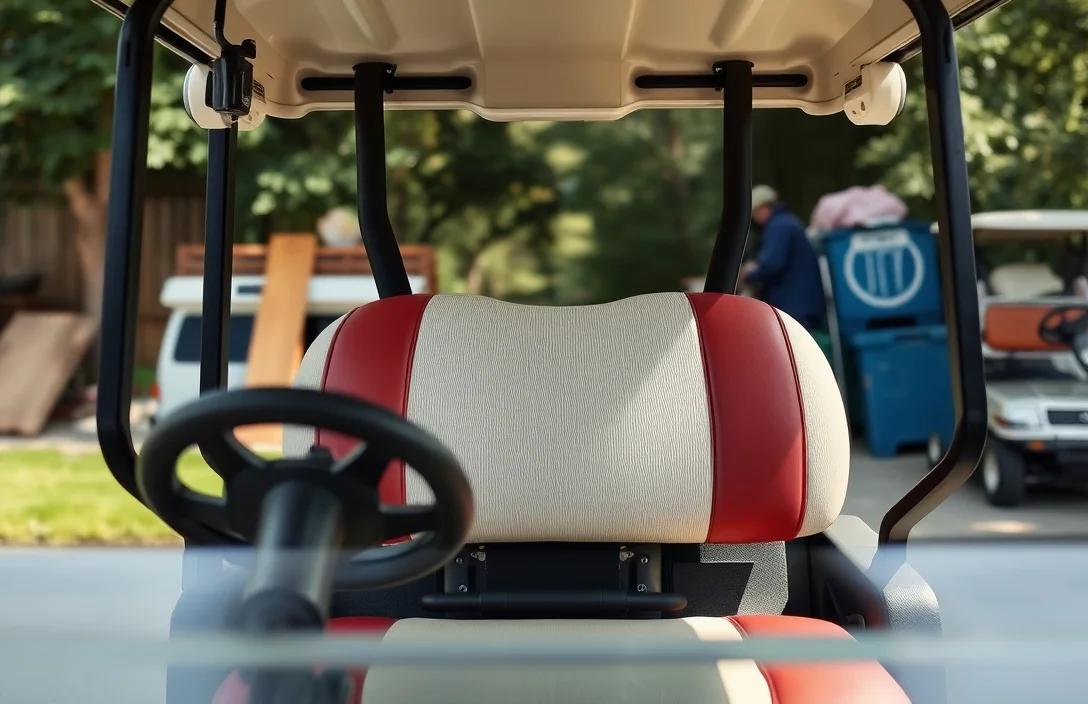
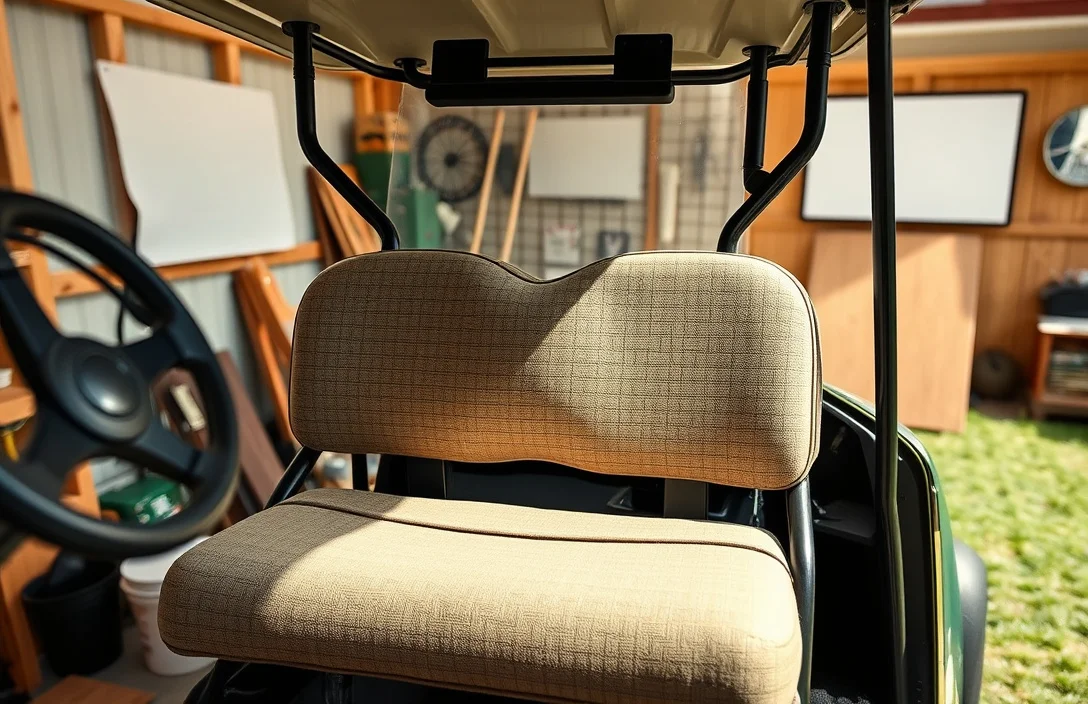
Reupholstering a golf cart seat involves removing the old fabric, inspecting the foam, cutting fresh material, and stapling it to the seat frame. Start by removing the current cover, assessing foam compression (replace if under 1 inch), then cut fabric, and staple edges with 8 to 12 staples per side.
Materials Needed for Reupholstering
Choosing the right materials is crucial for a successful reupholstering project. Fabric types suitable for golf cart seats should be durable, water-resistant, and UV-resistant to withstand outdoor conditions. The foam padding should provide comfort and support, while adhesives and fasteners ensure a secure fit.
Fabric Types
Different fabric options can enhance both the aesthetics and durability of golf cart seats. Common materials include:
Foam Padding Options
Selecting the right foam is essential for comfort and longevity. Consider the following types:
Adhesives and Fasteners
Proper adhesion and fastening are vital for a lasting finish. Use these materials:
For a professional finish, always ensure that the fabric is pulled tightly and secured adequately to avoid wrinkles and sagging over time.
Tools Required for the Job
Cutting tools will be essential for reupholstering a golf cart seat. A utility knife or fabric scissors is necessary to cut through upholstery fabric and foam. Having a rotary cutter along with a cutting mat can also help achieve clean edges, especially when working with larger pieces of fabric. Sewing tools are crucial for assembling the new upholstery. A sewing machine with a heavy-duty needle is recommended to handle the thickness of upholstery material. Additionally, a measuring tape, pins, and a fabric marker will assist in measuring and marking the fabric accurately for cutting and sewing. Fasteners and staplers are important for securing the new upholstery to the seat frame. A staple gun, preferably electric for ease of use, will allow for quick and secure attachment of the fabric to the seat base. If necessary, upholstery tacks or upholstery nails can also be used for added durability and aesthetic appeal.
| Item | Amount/Specification | Notes |
|---|---|---|
| Utility Knife | 1 | For cutting fabric and foam |
| Fabric Scissors | 1 pair | To ensure clean cuts on upholstery material |
| Sewing Machine | 1 | With a heavy-duty needle for upholstery fabric |
| Measuring Tape | 1 | For accurate measurements of fabric |
| Staple Gun | 1 | Electric preferred for ease |
| Upholstery Tacks | As needed | For additional fastening options |
Step-by-Step Reupholstering Process
Old fabric must be removed and the seat frame inspected for rust, cracks, or loose springs. Replace any damaged foam and rebuild the support if needed.
Securing the Upholstery Properly
Tight, wrinkle-free seating comes from correct stapling and edge tension. Use corrosion-resistant staples and a pneumatic gun, driving just enough to anchor the vinyl without tearing or bottoming out into the plywood.
For extra durability, test fit the cover over the seat base and pull edges to check for slack before final stapling. If you notice waves, reposition staples and re-tension the material around corners to avoid visible lumps.
Note: Allow seam sealer to cure fully before exposing the seat to rain or rough use.
Edge finishing options and trade-offs
| Option | Pros | Cons |
|---|---|---|
| Edge binding | Clean, professional look; durable against fray | Adds material and time to install |
| Piping | Hide raw edges; strong visual finish | Requires extra sewing and careful alignment |
| Turned edge / hem | Simple, quick finish | Stitches can loosen with use |
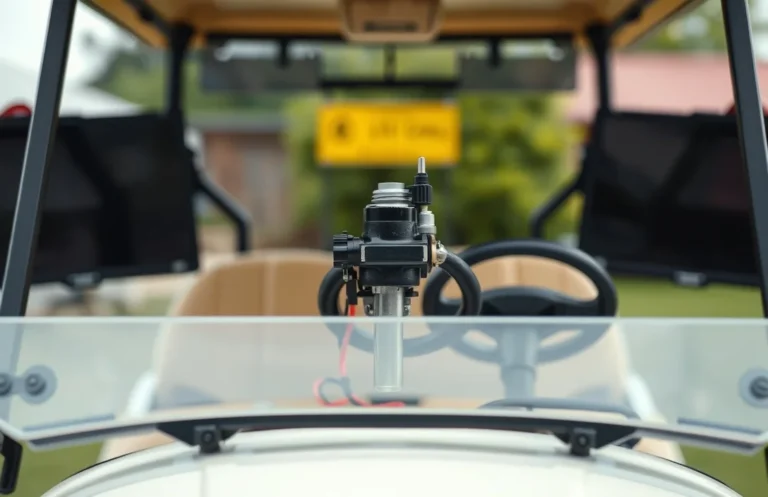
Integrating USB Charging Ports
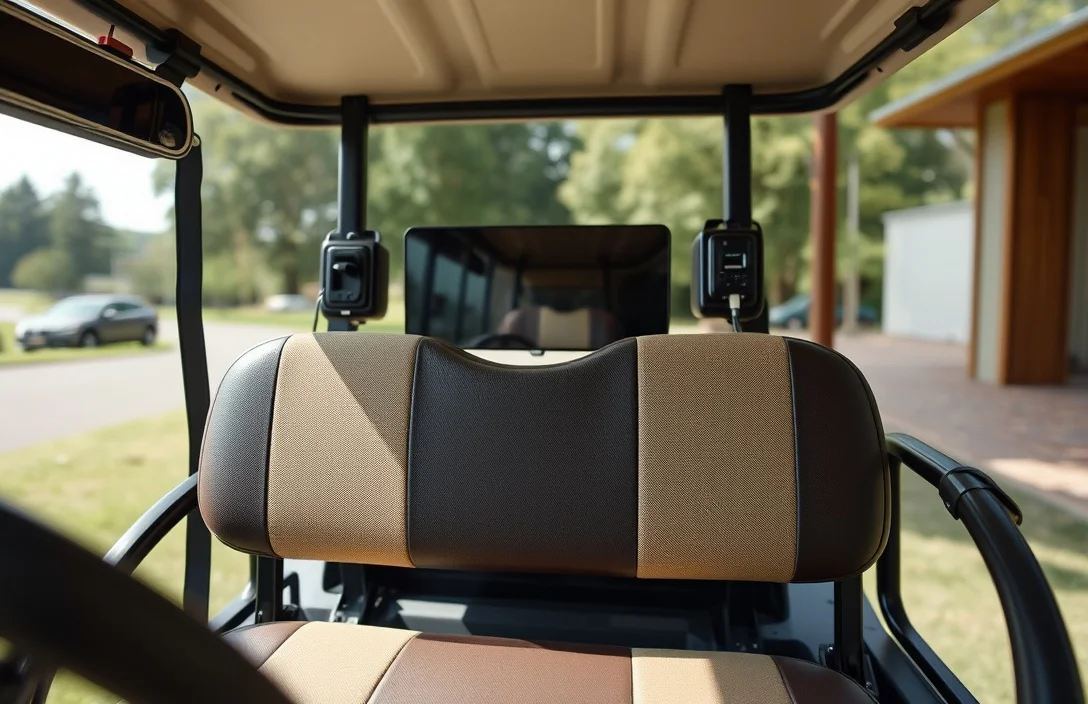
Choosing USB ports creates the charging surface for the seat. A 12V-to-5V DC-DC converter or automotive USB module with a fuse near the source provides regulated power. Avoid direct battery taps without regulation to prevent overvoltage or heat buildup.
Wiring considerations require adequate current capacity and safe routing. Use cable gauge that matches the expected current, typically 16 AWG for several amps or 18 to 22 AWG for light loads, and place a suitable inline fuse as close to the power source as practical. Route wires through existing frame channels or grommets, away from moving parts and heat sources to prevent abrasion.
Safety tips for electrical integration include choosing weatherproof ports, sealing unused entries, and testing the system before regular use. Never loop or kink cables, and avoid sharing the same circuit with high-draw accessories. If you smell burning or notice heat at the port, disconnect power and inspect the wiring before continuing.
| Port type | Typical current | Best use | Notes |
|---|---|---|---|
| USB-A 2.0 | 2 A | Older devices | Simple, common |
| USB-C PD | 3 A – 5 A | Phones, tablets fast charging | Requires PD source |
Note: Use only automotive-rated components and keep battery connections isolated from seating textiles to prevent heat buildup and fire risk.
Troubleshooting Common Issues
Wrinkles and misalignment happen when fabric tension is uneven or the base surface isn’t properly prepared. They are most visible along curves and corners and can indicate inconsistent adhesive bonding. The fix is to re-prep the surface, stretch the fabric correctly, and secure it with even staples or clamps while the adhesive cures.
Fabric wrinkles and misalignments
Wrinkles or misalignment signal uneven fabric tension or poor edge handling. They occur when the center-to-edge stretch isn’t consistent or the backing foam has shifted. Re-tension the fabric, reseat the foam, and verify seam lines before reapplying adhesive and staples.
Adhesive failures
Adhesive failures show as lifted edges, bubbling, or delaminating vinyl. They can result from dirty surfaces, incompatible adhesive, or suboptimal cure conditions. Fix by preparing the surface properly, using the manufacturer recommended adhesive for the seat material, applying in thin even coats, and allowing full cure with clamps or weights in a controlled environment.
Wear and tear signs
Visible wear includes worn vinyl, cracks, or foam compression where the seat experiences frequent use. This signals aging materials or UV exposure and can lead to upcoming rips. Fix by upgrading to higher-grade vinyl or adding a protective coating, replacing foam if compressed, and considering a seat cover or extra protective trim to extend life.
Maintenance Tips for Longevity
Regular cleaning with a soft brush or cloth and a mild soap keeps dirt and oils from breaking down upholstery fibers. Dry thoroughly after cleaning to prevent mold. Shield the material from sun and heat with a UV-resistant cover or by parking in shade to slow fading and cracking.
| Material | Recommended cleaners | Protective treatment | Notes |
|---|---|---|---|
| Vinyl | Mild soap and water; for spots, isopropyl alcohol < 70% (test first) | UV blocker spray or vinyl conditioner | Sun exposure can cause cracking over time |
| Fabric | Fabric-safe cleaner or mild detergent with water; avoid bleach | Fabric protector spray; reapply after cleaning | Absorbent fabrics dry slowly; keep moisture out of foam |
| Leatherette | Soap and water; avoid harsh solvents | Vinyl conditioner suitable for faux leather | Keep away from direct heat sources |
Tip: Never spray cleaners directly on the seat; apply to a cloth and wipe. Excess moisture invites mildew and cushion rot.
Keep maintenance simple and consistent to maximize the life of the upholstery. A basic routine of monthly surface cleaning, quarterly inspections, and annual protection reapplication helps prevent early wear and keeps the seat looking and performing well.
Quick Summary
Reupholstering a golf cart seat is doable with basic tools and outdoor-grade fabric, following safe steps and proper fit.
Frequently Asked Questions
What battery or power source should I use for tools when reupholstering a golf cart seat to ensure compatibility?
Use tools that match the voltage and battery chemistry of your project; for upholstery work with staple guns and heat tools, an 18V cordless setup is the most common choice. 18V is a common standard for golf cart upholstery tools, and pairing it with a battery you already own keeps costs down.
How can heat from a heat gun or iron affect reupholstering a golf cart seat and how do I manage it?
Excessive heat can scorch vinyl and weaken foam, especially with prolonged contact. Keep the heat source about 6 inches away and use bursts of 1-2 seconds to control temperature and avoid damage.
How long will cordless tool batteries typically last while reupholstering a golf cart seat, and what factors affect runtime?
Runtime depends on the Ah rating and how hard you load the tool; a typical 18V drill uses a 2 – 4Ah battery, so a 4Ah pack provides longer sessions. Higher Ah equals longer runtime, but always check the battery label for exact capacity.
What safety steps should I follow to avoid burns or shorts when using power tools to reupholster a golf cart seat?
Wear safety glasses and cut resistant gloves, unplug tools when not actively using them, and keep flammable materials away from heat and sparks. Use a fire extinguisher nearby when working with heat tools as a precaution.
What are common buying mistakes when selecting tools, batteries, or fabrics for reupholstering a golf cart seat, and when should I replace batteries or tools?
Don’t buy primarily on price or brand without checking compatibility; verify voltage, battery capacity, and staple sizes before purchasing. Check voltage compatibility and staple size before buying, and replace a battery when it no longer holds a charge or when the tool runs noticeably slower.