
How To Clean Golf Cart Windshield?
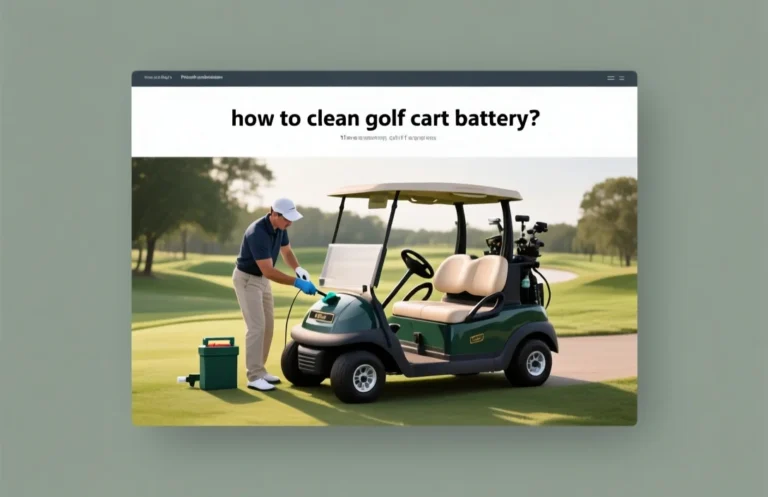
How to clean golf cart windshield? comes down to matching the advice to your situation instead of following a generic checklist. I will focus on the main decision points, the tradeoffs that matter most, and the practical next steps you can use before spending time or money.
Windshield Material Check

Windshield Material Check: Surface type determines cleaning method. Most golf cart windshields are polycarbonate or acrylic and scratch easily, so use plastic-safe cleaners and a soft microfiber cloth. Some configurations still use glass and may have coatings or tint that affect which products are safe.
| Material | Safe cleaners | Avoid | Notes |
|---|---|---|---|
| Glass | Water with mild detergent; standard glass cleaner if needed | Abrasive pads; strong solvents | Tinted glass may require compatible products |
| Polycarbonate | Plastic-safe cleaner; mild soap and water | Ammonia; acetone; citrus solvents; abrasives | Keep surface cool and dry; use microfiber |
| Acrylic | Plastic-safe cleaner; mild soap and water | Ammonia; acetone; citrus solvents; rough cloth | Use microfiber; avoid heat exposure |
Windshield Material Check: In practice, identify the surface type from markings, the owner’s manual, or the frame design. Then select cleaners aligned with glass or plastic rules to minimize risk and preserve coatings.
Windshield Material Check: For example, a polycarbonate windshield with a tint film benefits from mild soap and water and a microfiber cloth; avoid ammonia-based cleaners that can degrade the tint, and always test a small area first.
Power-Down Your Cart
Power-Down Your Cart to isolate the drive and electrical systems during cleaning. Turn off the cart and remove the key to cut power to the drive system. If your cart has a master kill switch, flip it to OFF and wait a moment for the controllers to reset.
| Check | What to verify |
|---|---|
| Ignition state | Key removed, OFF position, any master switch OFF |
| Brakes | Parking brake engaged, wheels immobilized |
| Charger | Charger unplugged from cart and wall, no charge present |
| Accessories | Removable devices removed; no loose wiring near windshield |
| High-voltage components | HV circuits de-energized; no active contactors or BMS alerts |
Note: Water and cleaners should not reach exposed connectors, battery packs, or control modules. If you notice swelling, distinct heat, or a strong smell, stop cleaning and consult a professional.
Power-Down Your Cart sets a safe stage for windshield cleaning, reducing the risk of unexpected movement or electrical issues while you wipe the glass and surrounding areas.
Cleaning Agent Guide

Base cleaning starts with mild soap and water to lift dirt without scratching coatings. For tougher grime, use an automotive glass cleaner that is labeled safe for coatings on glass. Avoid cleaners with ammonia or strong solvents that can degrade tint films or protective coatings.
Base soap should be gentle and free of waxes or abrasives. Mix a small amount in warm water and apply with a clean microfiber, then rinse with plain water and dry with a second dry cloth to prevent water spots.
| Cleaner Type | Pros | Cons / Cautions |
|---|---|---|
| Mild soap solution | Gentle on coatings, inexpensive, readily available | May require extra rinsing to remove soap residue |
| Coating-safe automotive glass cleaner | Streak-free finish, fast cleaning | Label must explicitly state coating or tint compatibility |
| Avoid ammonia or solvent cleaners | None for this use | Can dull coatings, haze tint films, and damage coatings over time |
In practice, test any cleaner on a small area first. If a haze or streak appears, switch to the mild soap approach and re-evaluate in a few minutes.
Technique note: work in shade or cool conditions, use two clean microfiber towels – one damp for cleaning, one dry for drying to prevent spots. Finish with a light pass in a single direction to minimize streaking, and inspect from different angles to ensure clarity across the entire windshield.
Non-abrasive Cleaning Tools
Non-abrasive cleaning tools prevent scratches on the windshield during maintenance. Use separate microfiber cloths and a soft sponge, and spray cleaner onto the cloth rather than directly onto the windshield. Gentle, even strokes keep the surface clear and reduce streaks.
| Item | Amount/Specification | Notes |
|---|---|---|
| Microfiber Cloths | 2 – 3 lint-free microfiber cloths, 300 – 600 GSM | Use separate cloths for initial dirt wipe, mid-clean, and final dry. Rinse cloths in cool water after each pass to lift grit. Avoid fabric softeners and dryer sheets that leave residues on the glass. |
| Soft Sponge | 1 non-abrasive sponge or microfiber scrub pad; soft edges | Pick a sponge with a fine pore to lift dirt without scratching. Avoid abrasive scouring pads that can embed micro-scratches into the windshield. Rinse and air dry the sponge after cleaning to prevent mold. |
| Spray Cleaner | pH-neutral cleaner or mild soap; diluted per label; spray bottle | Choose a product compatible with glass. Spray onto the cloth, not directly on the windshield, to control overspray. If residue remains, wipe with a clean cloth and repeat gradually. |
| Distilled Water | Optional distilled water for dilution or final rinse | Distilled water reduces mineral spots from hard tap water. Use it for final wipe or to dilute concentrated cleaners per label. Label any diluted mix and keep it in a dedicated spray bottle. |
| Spray Bottle | Clear bottle with mist setting; 4 – 8 oz typical | Use a bottle with a fine mist setting for a light, even spray. Rinse and dry the bottle between uses to avoid cross-contamination. Store in a cool place away from sun to preserve cleaner stability. |
Protecting Electronics During Cleaning
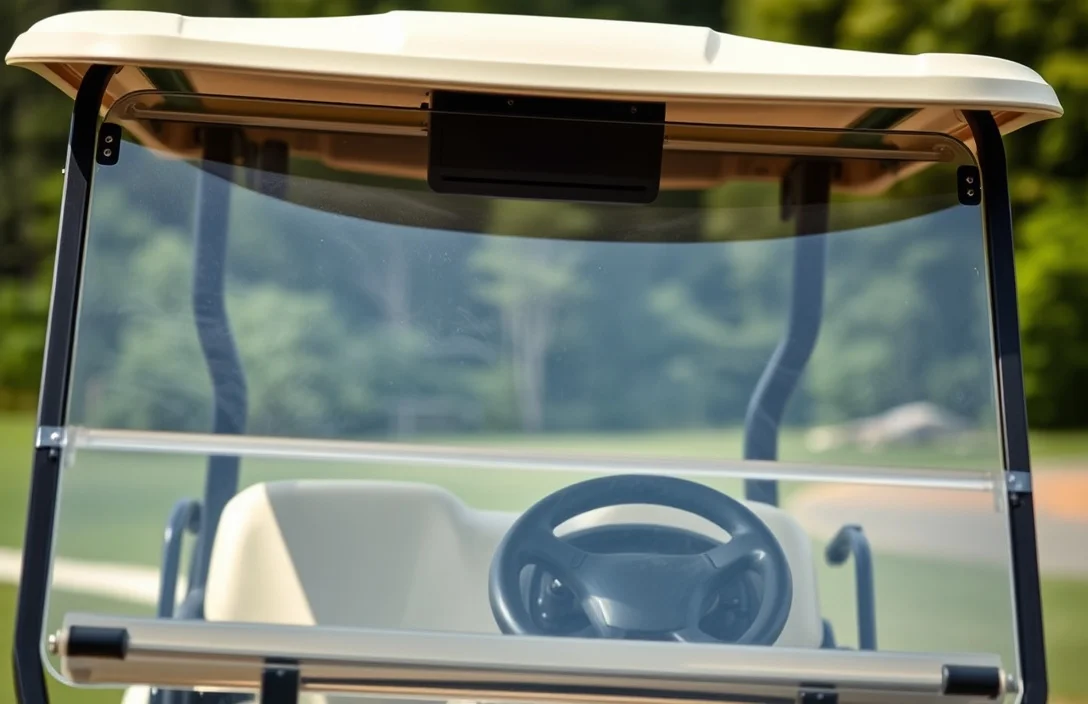
Protecting Electronics During Cleaning Sprays can wick into connectors and seals if directed at the windshield area. Keep spray away from electrical joints and seals, using protective barriers such as towels, plastics, or dedicated covers to shield components during cleaning.
Drying and Finishing Up
Thorough drying is essential for a clear, streak-free finish on the windshield. Utilize a lint-free towel to gently dry the surface, ensuring no moisture remains that could lead to streaks or water spots.
After drying, visually inspect the windshield for any remaining streaks, residue, or moisture, especially in crevices. These areas can trap dirt and grime if not properly cleaned, which may obstruct your view while driving.
In practice, it’s also important to reinspect the wipers and surrounding seals. Worn wipers can leave streaks or fail to clear water effectively, posing a safety hazard.
Consider the following checklist for a complete inspection:
Regular maintenance of wipers and seals not only enhances visibility but also prolongs the life of both the wipers and the windshield itself.
Completing these steps ensures a clean, safe driving experience. A clear windshield not only improves visibility but also contributes to the overall aesthetic of your golf cart.
Damage Signals and Replacement
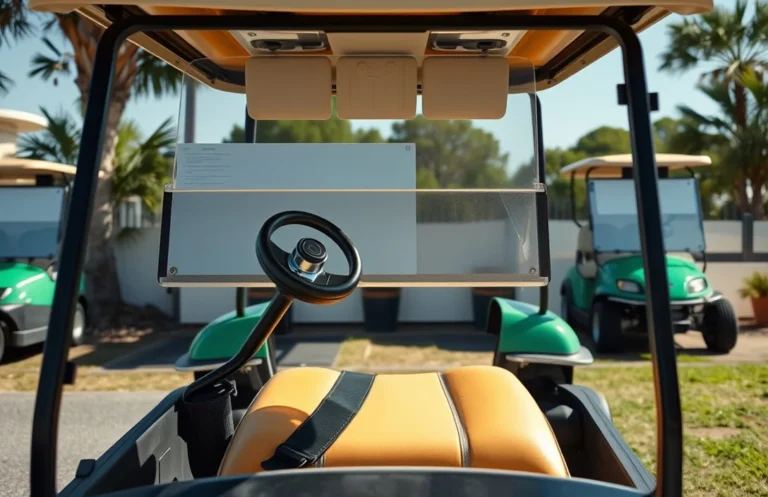
Visible cracks, hazing, or yellowing on the windshield indicate that it may be time for a replacement. These issues can compromise visibility and safety, making it essential to address them promptly.
For instance, if the windshield has multiple cracks or extensive hazing, it may not only impair your driving experience but also risk the safety of occupants. Consulting a professional for an assessment can help determine the best course of action.
Regular inspections can help identify these damage signals early, allowing for proactive maintenance. Keeping the windshield clear and free from damage is essential for both safety and enjoyment while using the golf cart.
Quick Summary
Cleaning a golf cart windshield effectively requires the right materials and techniques to avoid scratches and maintain visibility.
Frequently Asked Questions
What type of cleaner is safe to use on a golf cart windshield?
You can use a mild soap solution or a specialized plastic cleaner to avoid scratching the surface. Make sure to avoid ammonia-based cleaners, as they can damage plastic materials.
How often should I clean my golf cart windshield?
It’s advisable to clean your golf cart windshield at least once a month or more frequently if you notice dirt or debris. Regular cleaning helps maintain visibility and prolongs the life of the windshield.
What tools do I need to clean my golf cart windshield effectively?
You will need a soft cloth or microfiber towel, a bucket for the cleaning solution, and optionally, a squeegee for streak-free results. Avoid using paper towels, as they can scratch the surface.
Is there a specific technique for cleaning a golf cart windshield?
Yes, you should start from the top and work your way down in circular motions to remove dirt without causing streaks. Rinse the cloth frequently to avoid spreading grime.
What common mistakes should I avoid when cleaning my golf cart windshield?
A common mistake is using harsh chemicals or abrasive materials that can scratch the windshield. Always test any cleaner on a small area first to ensure compatibility.