
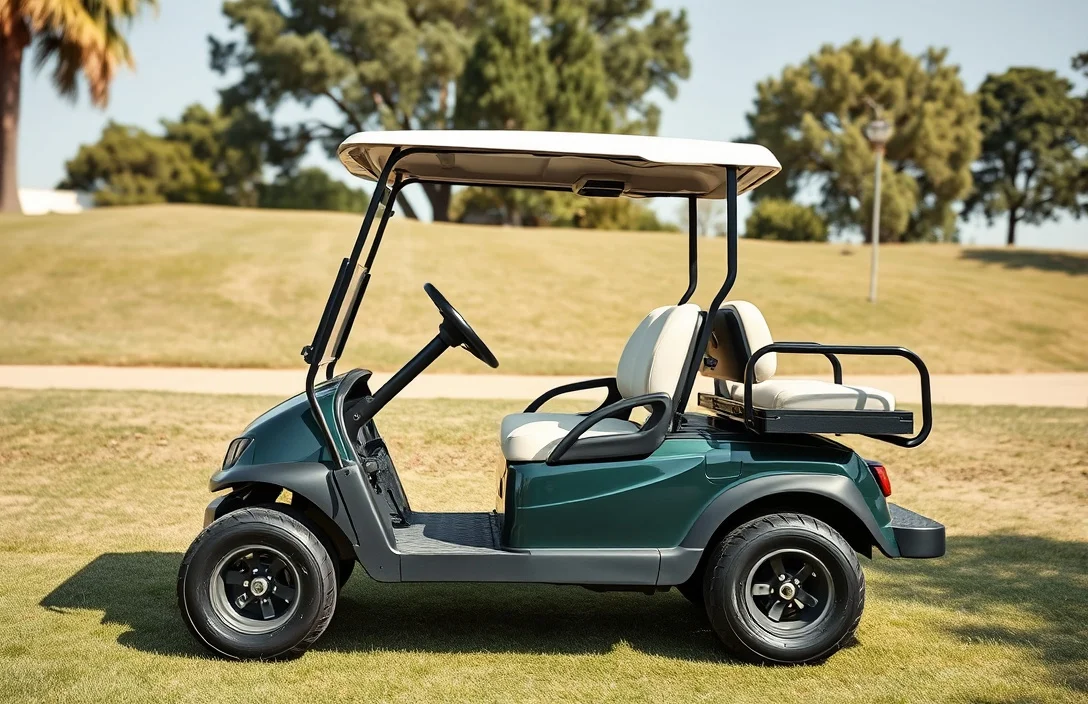
Cost To Upgrade Golf Cart To Lithium Batteries
Most people price lithium for a golf cart wrong because they only compare battery packs, not the rest of the system. A typical upgrade can cost hundreds more once you add the correct BMS, wiring, battery charger type, and sometimes a motor controller or gauge setup. The spec that matters most is pack voltage matching your cart (often 36 V or 48 V), and the first label to check is the charger input voltage and output profile for lithium.
Cost to upgrade a golf cart to lithium batteries is usually higher than the battery pack price alone because you must match the cart voltage (commonly 36 V or 48 V), add a lithium-compatible charger, and confirm the BMS and wiring fit your cart. Plan on budgeting for parts besides batteries, since chargers and adapters often determine total cost.
cost to upgrade golf cart to lithium batteries

Upfront lithium battery packs are usually the biggest line item, and they commonly range from the low thousands to several thousand dollars depending on voltage, capacity, and brand. Labor and installation, the battery management system (BMS), and charging upgrades can add a comparable amount in some carts, especially if wiring and motor controller settings need changes.
Budgeting starts with deciding what you are replacing and what you are reusing. Many golf carts already have a charger and wiring harness, but lithium packs often need a different charge profile, different connector work, and a BMS compatible setup. If your cart is 36 V or 48 V, plan around how the pack voltage matches the cart system and how the charger will be able to deliver the right stages safely.
Major cost drivers you can price before you buy
Pack price is driven by usable energy (amp-hours or watt-hours), physical form factor, and whether the system includes a proven BMS and cell matching. Higher capacity generally costs more, and bigger packs also add weight, which can mean more mounting material and labor time. BMS cost is sometimes hidden inside the pack, but sometimes you pay separately for an external BMS or integration kit.
Labor cost is driven by access and complexity, not by “time on the clock” alone. Tight battery bays, corroded terminals, and existing cable routing slow everything down, and proper installation can mean replacing worn cables, crimping quality connections, and adding fusing. Wiring and mounting are also where DIY projects most often go wrong, since lithium packs want secure vibration-resistant mounting and correctly sized conductors.
| Cost driver | What changes the price | Typical budget implication |
|---|---|---|
| Battery pack | Voltage, capacity, brand quality, integrated BMS | Largest single line item |
| Installation labor | Battery bay access, corrosion level, cable replacement needs | Can be a large add-on on older carts |
| BMS/protection | Integrated vs external, wiring integration scope | Sometimes included, sometimes a separate purchase |
| Wiring, fusing, mounting | Cable gauge, connector work, secure mount hardware | Hidden cost if your cart needs rewiring |
| Charger upgrade | Whether the charger matches lithium charge requirements | May require replacement to avoid unsafe charging |
| Vendor vs DIY | Parts quality, troubleshooting, commissioning time | DIY lowers labor spend, increases risk of rework |
For example, two carts with the same rated pack size can still land on different totals because one cart has clean terminals, intact cables, and easy access, while the other has corrosion that requires replacement of lugs and more labor for safe connections. For charging, a cart that already has a charger known to support lithium charging can avoid a costly charger replacement, but if not, the charger upgrade is often unavoidable.
DIY can be cost-effective if you can source correct components and complete commissioning without skipping safety checks. Vendor installs reduce integration guesswork, especially for BMS wiring, correct charger matching, and documentation for warranty handling, but they add labor cost and may require specific brands or kits to qualify for their support.
Battery capacity and runtime explained
Runtime comes down to watt-hours, which equal pack voltage times amp-hours (Ah). Lithium upgrades change voltage behavior under load and often let you use more of the stored energy than you could with many lead-acid setups.
Battery capacity is usually rated in amp-hours (Ah) at a given system voltage, or directly as watt-hours (Wh). A golf cart is typically built around 36 V, 48 V, or other nominal systems, and that nominal voltage is what you use for planning, while the controller load makes real runtime vary.
Voltage and pack size
Voltage affects how much power the motor/controller can draw for the same current. For the same energy (Wh), a higher-voltage pack uses lower current at the motor, which often reduces voltage sag and heat in cables, controller, and bus bars.
Pack size is the physical way capacity shows up, but the electrical reality is still Wh. When comparing two lithium options, compare the total Wh or the product of system voltage and total Ah, then account for how much of the energy each battery is designed to release safely.
Ah rating and runtime
Use a simple planning method: runtime (hours) ≈ usable Wh ÷ average power draw (watts). Average draw depends on speed, grade, and how often you accelerate, so runtime estimates get wider when you drive hilly routes or carry heavier loads.
For example, if your cart averages 600 W while moving, a 3,000 Wh usable battery pack gives about 5 hours of driving under similar conditions. If you add a cold start, frequent stop-and-go, or you run at higher speed, average power can jump, shortening runtime.
Real-world usage patterns drive the difference between brochures and your schedule. A cart used for long, steady cruising often feels closer to the energy math, while a cart used for repeated climbs, towing, or frequent starts can drain capacity quickly even if the total miles look similar.
Weight and efficiency impact what you perceive as “range” after the upgrade. Lithium packs can be lighter than equivalent lead-acid capacity, which reduces energy spent hauling the battery mass, and lithium chemistry plus improved voltage stability can reduce wasted energy as heat.
Efficiency gains are real, but they are not magic, and they vary by motor/controller, tire size, and driving style. Swapping packs with different voltages or different total Wh can skew comparisons, so judge runtime using Wh and your typical route profile.
| What to check on lithium pack info | Why it affects runtime |
|---|---|
| System voltage (36 V, 48 V, etc.) | Sets power/current relationships and Wh calculation |
| Total Ah and/or total Wh | Directly determines stored energy |
| Usable capacity or discharge window | Determines how much energy you can actually draw |
| BMS cutoff voltage and max discharge current | Limits when runtime ends and how hard you can push |
| Charge/discharge temperature guidance | Cold or hot packs may reduce available power |
Battery capacity and runtime planning becomes much easier when you treat lithium as an energy system, Wh first, current second. Runtime surprises usually come from comparing packs by voltage or physical size instead of usable watt-hours, or from expecting highway style efficiency from stop-and-go hill driving.
Charger compatibility & ports
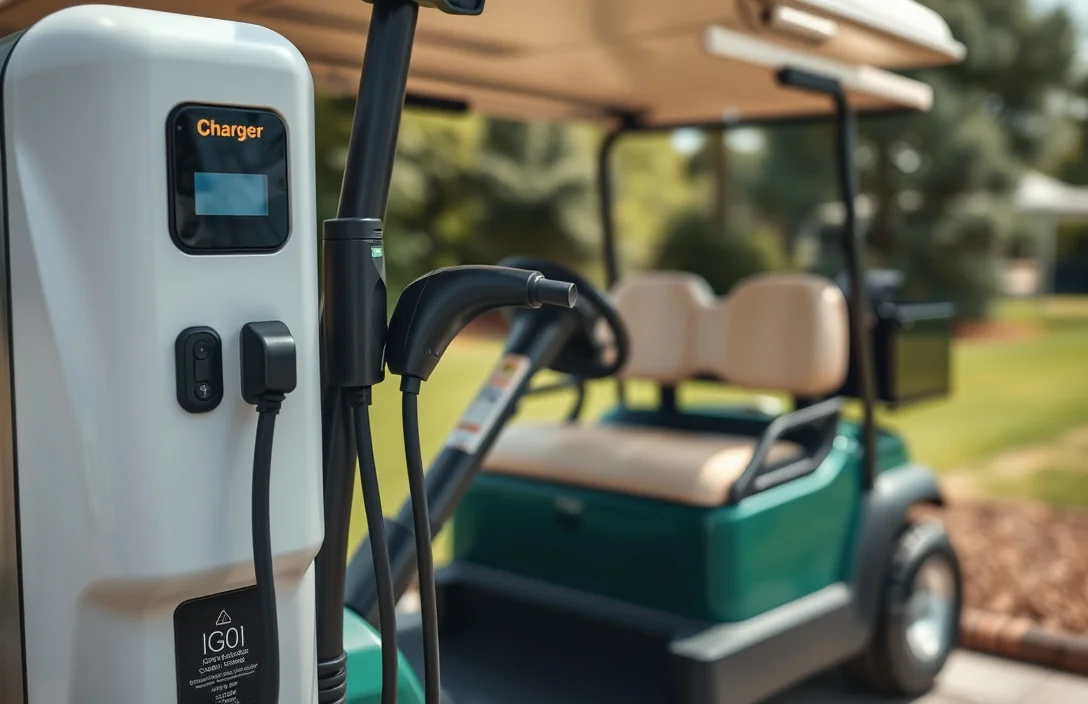
For a successful upgrade, the charger must match the golf cart’s 48V lithium pack in both voltage and connector type. The BMS in the pack and the charger need to communicate, otherwise charging may not start or could stress cells. If you use an incompatible charger, you risk reduced cycle life and safety protections being bypassed.
| Charger type | Key compatibility notes | Impact on cost |
|---|---|---|
| Onboard charger | Integrated into the cart, typically accepts a standard AC input; confirm input voltage and the lead connector match the cart setup | Can be convenient but may require a model-matched unit |
| External charger | Standalone unit that feeds the pack through a dedicated connector; verify the connector family and BMS communication | May offer more power options, but you may need adapters or new leads |
Charging ports and connectors vary by model. Ensure the pack and charger use the same connector family and compatible pinout. If you replace the pack, you may need a new connector or a conversion kit. Check weather sealing and cable gauge to handle the intended charging current without overheating.
Onboard chargers simplify setup but may limit you to a supplier’s ecosystem. External chargers offer flexibility and potential speed gains, but you must supply correct leads and protect units from moisture and physical strain.
Charge rate governs how fast you can top up the pack and is described by the C-rate relative to capacity. A higher rate can reduce charging time but raises heat and stress on cells. Always align the charger’s max current with the pack’s recommended rate and the BMS limits to avoid premature wear.
Mis-matched equipment can create safety risks or shorten life. Always verify compatibility labels and, when in doubt, consult the cart manufacturer or a qualified installer before buying.
Safety and installation risks
High energy density means higher heat and the need for dedicated thermal management. If the pack is not wired with a correct battery management system and appropriately sized cables, you risk overheating, swelling, or fire. Proper installation includes compatible BMS, temperature monitoring, and correct enclosure ventilation.
Thermal management is not optional. Golf cart compartments can have limited airflow, so you must plan cooling or heating to keep cells within safe temperatures during charging and discharge. Use a properly rated BMS that monitors cell temps and balances cells, and ensure wiring, fuses, and connectors can carry peak currents without overheating.
Watch for swelling, hissing, or venting during charging. Swollen cells can vent hot gas or heat the enclosure; if you see any signs, stop use and consult a tech. Do not ignore unusual smells or plastic deformation near the pack.
Store the pack in a cool, dry place away from moisture and flammable materials. Do not store at full charge for long periods in hot climates; aim for partial state of charge and check voltage periodically. Disconnect the pack from the cart during long storage to reduce parasitic draw and keep the BMS from staying engaged.
If you lack experience with high current wiring, BMS integration, or modifying the cart’s electrical system, hire a pro. A qualified technician can size cable gauges, add proper fusing, certify enclosure ratings, and validate venting and cooling paths.
For example, they will verify that charger and pack voltages match the cart’s limits and that thermal paths remain unobstructed during operation.
| Safety check | What to verify | Potential risk if failed |
|---|---|---|
| Mounting and enclosure | Pack securely mounted, vents unobstructed, no loose wiring | Vibration damage, heat buildup, short circuits |
| Wiring and fuses | Cable gauges sized for peak current, proper protection and routing | Overheating, insulation failure, fire |
| BMS integration | Temperature sensors, cell balancing, alarm outputs | Unbalanced cells, thermal runaway risk |
| Cooling path | Clear airflow or active cooling near the pack | Excess heat during charge/discharge, reduced life |
Safety reminder: never bypass the battery management system, use damaged or mismatched packs, or obstruct cooling paths. Thermal issues are the leading cause of failures in DIY upgrades.
Replacement triggers & warranties

Warranty terms for lithium golf cart packs typically run 2 to 5 years or a defined cycle life, with pro-rated replacement if capacity falls below a threshold. Coverage usually includes defects in materials and the BMS, but requires proper installation, the use of an approved charger, and no modifications that bypass safety features.
Cycle life expectations: Lithium packs commonly deliver thousands of cycles in durable chemistries, with ranges often cited from about 2,000 to 4,000 cycles for LiFePO4, and shorter lifespans for some NMC configurations under heavy use. Real-world life depends on depth of discharge, temperatures, and charging habits; keeping the pack within recommended temperature ranges and avoiding frequent full 100 percent charges helps maximize cycles.
End-of-life replacement strategy: Most programs offer prorated credits toward a new pack, or a swap/buy-back option to minimize downtime. Some suppliers provide tiered support where you pay a smaller upfront cost for replacement based on remaining capacity. This matters for total cost of ownership when planning a long-term upgrade.
| Aspect | Typical terms | Notes for buyers |
|---|---|---|
| Warranty duration | 2 – 5 years or defined cycle life | Clarify time-based vs cycle-based triggers and pro-rating rules |
| Coverage scope | Defects in cells and BMS faults | Excludes improper charging, physical abuse, water ingress |
| Replacement trigger | Capacity loss below 70 – 80% or BMS fault | Check the exact threshold and documentation needed |
| End-of-life options | Pro-rated replacement, swap programs, or buy-back | Factor in downtime and potential credit against a newer pack |
Buying checks and real-world fit
Compatibility and real-world fit drive the total upgrade cost and feasibility. Verify your cart’s system voltage, mounting footprint, and maximum weight before selecting a lithium package.
| Aspect | Lead-acid baseline | Lithium upgrade expectation | What to verify |
|---|---|---|---|
| System voltage | Typically matches original pack | Should be the same voltage class or approved alternative | Match with controller and charger spec sheet |
| Weight and footprint | Heavier and bulkier | Lightweight, often similar or smaller footprint | Measure space, confirm mounting points and CG impact |
| Charger compatibility | Dedicated aging charger | New charger or smart charger required | Check charge current limits and connector types |
| Battery management | Simple or no BMS | Integrated BMS with cell balancing | Ensure BMS supports your pack chemistry and load profile |
For example, a 48V cart with an aging lead-acid pack may need a 48V lithium pack with a built-in or compatible BMS and a charger upgrade. If space is tight, you might choose a more compact pack or a modular mounting kit.
Prioritize compatibility over price to avoid rework, and verify each spec with the supplier before purchase.
Next steps: request spec sheets, measure the space, and inventory any required mounting hardware. Use the verified data to compare quotes and avoid surprises during installation.
Quick Summary
Upgrading a golf cart to lithium batteries can lower weight and maintenance, but total cost varies and compatibility matters.
Frequently Asked Questions
Question 1?
You will typically see a 48V nominal system in most golf carts, so the lithium pack must match 48V and be compatible with your motor controller and charger. The upfront cost varies widely by capacity and features, so exact prices range by kit.
Question 2?
Heat management matters for safety and performance. Higher current draw can raise pack temperature, so pick a pack with a BMS and adequate cooling. The common operating range for many lithium golf cart packs is 0 to 45 degrees C.
Question 3?
You can typically see longer usable range with lithium, often about 1.5x to 2x more per charge depending on capacity and how you drive. Also confirm the charger and controller can support the higher energy flow to avoid bottlenecks.
Question 4?
Lithium packs typically offer longer life, but actual replacement timing depends on usage and depth of discharge; many packs are rated in the high hundreds to thousands of cycles. Use a pack with a robust BMS and monitor performance to decide when to replace.
Question 5?
Avoid common buying mistakes such as mismatched voltage, choosing a pack without a real BMS or warranty, and selecting a cheap kit that lacks support. A good rule is to verify voltage match and BMS compatibility before purchase, and check warranty terms.