How To Effectively Paint Your Golf Cart For A Professional Finish
Safety first: disconnect the golf cart battery and work in a well ventilated area before any prep. The spec that matters most is surface compatibility, since plastics, fiberglass, and metal need the right primer and topcoat. The common mistake is skipping prep, which causes adhesion failure and peeling. The first label to check is the paint can label for material compatibility and the primer requirements.
Painting a golf cart starts with cleaning and scuffing the surface, applying a compatible primer, then two coats of color with 1 hour between coats, and a clear top coat. Allow 24 hours to cure before use. Ventilate, wear a respirator, and keep batteries disconnected during painting.
Required Materials
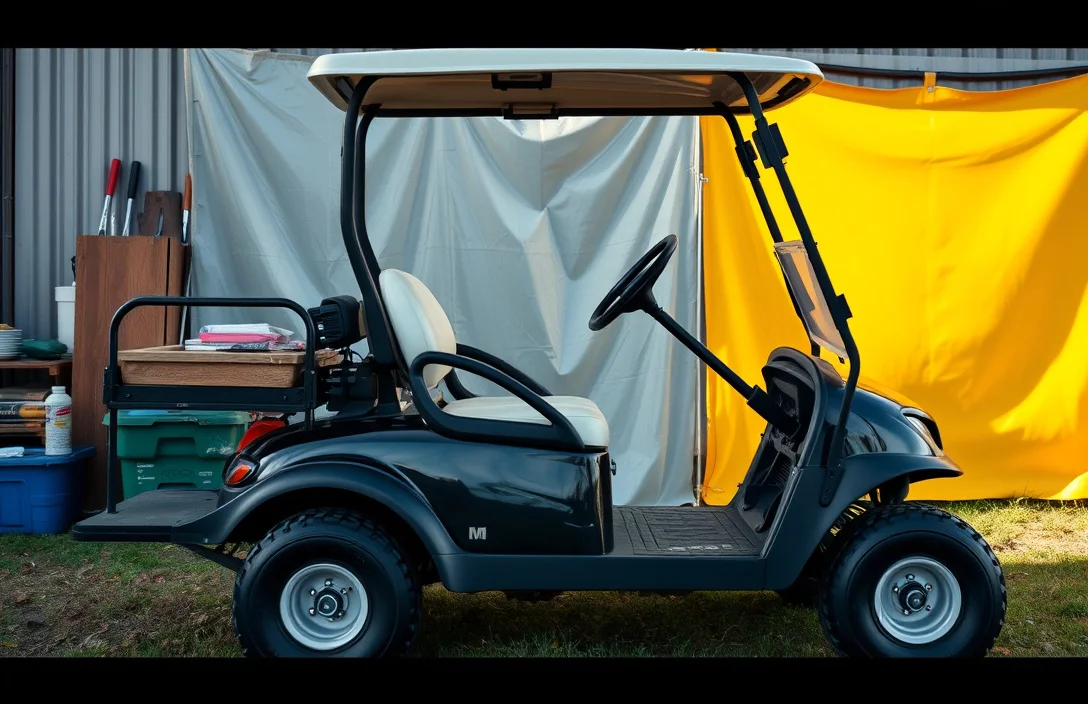
Outdoor golf cart finishes rely on a compatible primer, topcoat, and clear coat designed for outdoor use on metal and plastic surfaces. Automotive-grade polyurethane or enamel provides durability, while adhesion promoters help plastics hold paint. For the best results, gather materials that match the cart’s body material and local climate.
| Paint Type | Best Use | Notes |
|---|---|---|
| Epoxy Primer | Metal surfaces | Good corrosion resistance and adhesion on bare metal. |
| Adhesion Promoter | Plastic panels | Improves grip on non-metal substrates. |
| Polyurethane Top Coat | Exterior finish | Durable, UV resistant, available in various sheens. |
| Clear Coat | Protection | Helps resist weathering and adds depth of color. |
Safety gear and ventilation are critical because finishes emit fumes and particles during prep and spraying. Use a proper respirator rated for organic solvents, chemical goggles, and chemical-resistant gloves. Wear long sleeves or coveralls to minimize skin exposure, and ensure good airflow in the working area.
Work in a well-ventilated area, outdoors if possible, and avoid humid or windy conditions that can affect finish quality. Proper ventilation reduces fume exposure and helps paints cure correctly.
Staging and preparation help prevent defects. Have all materials organized by surface and plan drying times to avoid dust settling on wet coats.
Preparation Steps
Cleaning the surface of the golf cart is essential for achieving a smooth and professional finish. Begin by using a mild detergent and water to thoroughly wash the entire cart, making sure to remove dirt, grime, and any old wax or grease. Rinse well and allow the surface to dry completely before moving on to the next step.
Following these preparation steps will ensure a better bond between the paint and the golf cart’s surface, leading to a more durable and visually appealing finish. Taking the time to prepare properly can result in a significant improvement in the overall quality of your paint job.
Choosing the Right Paint
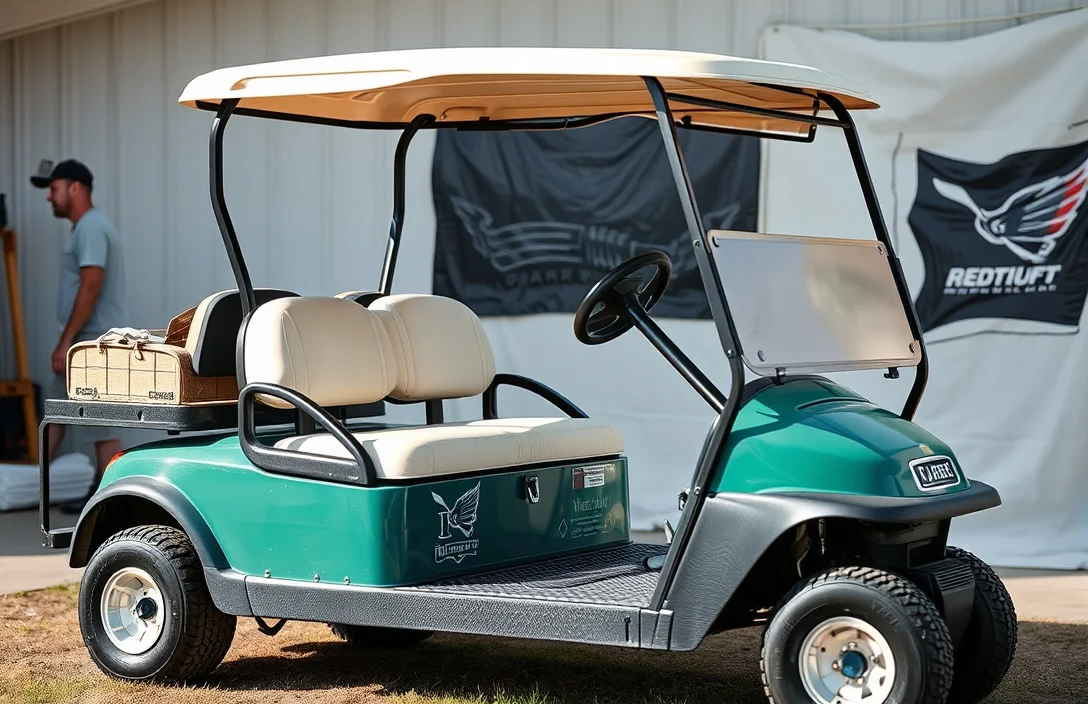
Acrylic and enamel coatings for golf carts strike a balance between durability and ease of application. Enamel finishes tend to yield a hard, glossy film that resists chips in outdoor conditions, while acrylic latex coatings are easier to apply, dry faster, and resist fading with UV protection. For most outdoor carts, a durable enamel or acrylic enamel base with a clear topcoat provides the best combination of protection and appearance.
Weather resistance drives long-term look and curb appeal. Exterior finishes should tolerate sun exposure, rain, and temperature swings without chalking or peeling. A two-stage system that uses a pigmented base coat plus a UV resistant clear coat helps manage chalking, fading, and moisture ingress.
Color options give you branding and style flexibility. Solid colors are the easiest and most economical, while metallics and pearlescent finishes require coordinated base and top coats to avoid color shifts. To keep color consistent across panels, choose a two-coat system with a dedicated color coat and a clear protective layer, and consider color-matching to OEM schemes.
| Paint Type | Best For | Durability | Finish Options |
|---|---|---|---|
| Acrylic Latex | Outdoor exposure | Moderate to good | Matte to gloss |
| Enamel (oil or water-based) | High durability outdoors | High | Glossy |
| Two-Component Polyurethane | Top-tier protection | Very high | Clear, high gloss |
Tip: Work in a well-ventilated area and wear a respirator when using solvent-based finishes; temperature and humidity affect cure. Avoid applying in direct sunlight on hot surfaces to prevent uneven drying.
Painting Techniques
Spray Painting yields an even, factory-like finish on golf cart panels, especially curved surfaces. It requires a clean, primed surface and proper ventilation to manage fumes. Use automotive-grade enamel or urethane spray, and follow thinning and cure times from the product label.
Spray Painting preparation starts with masking edges, removing hardware, and scuffing the old finish to create a good bite for the new coat. Clean the surface with a degreaser, then wipe with isopropyl alcohol and let it dry. Practice spray technique on a test panel to set consistent distance and motion before coating the cart.
Brush Techniques are useful for trim, emblems, or hard-to-reach corners where spray is impractical. Choose synthetic bristles for enamel or polyurethane, and keep the brush loaded with a thin film to avoid drag marks. Apply light, even strokes in a consistent direction to reduce brush marks.
Brush Techniques also cover technique and timing, including how fast to work and how to follow contours. For detail work, use angled brushes to follow shapes, and keep a tack cloth handy to remove dust between passes. Thin coatings and proper dry times matter more than speed.
Layering Paint means applying multiple coats with careful timing to build color and durability. Start with a good primer and a mid coat, allowing adequate flash-off time between coats. Between layers, lightly sand with fine grit and remove dust before the next coat to achieve a smooth final surface.
| Technique | Pros | Cons | Best Use |
|---|---|---|---|
| Spray Painting | Fast, even coverage; ideal for large panels | Requires ventilation; overspray risk | Flush, even color on flat and curved areas |
| Brush Techniques | Good for trim, edges, detail | Can show brush marks if not done carefully | Detail work and small parts |
| Layering Paint | Durable finish; smooth color build | More coat time; requires sanding between coats | High quality, long-lasting surface |
Tip: Practice on a spare panel or scrap piece to dial spray distance and motion before committing to the cart finish.
Achieving a Smooth Finish
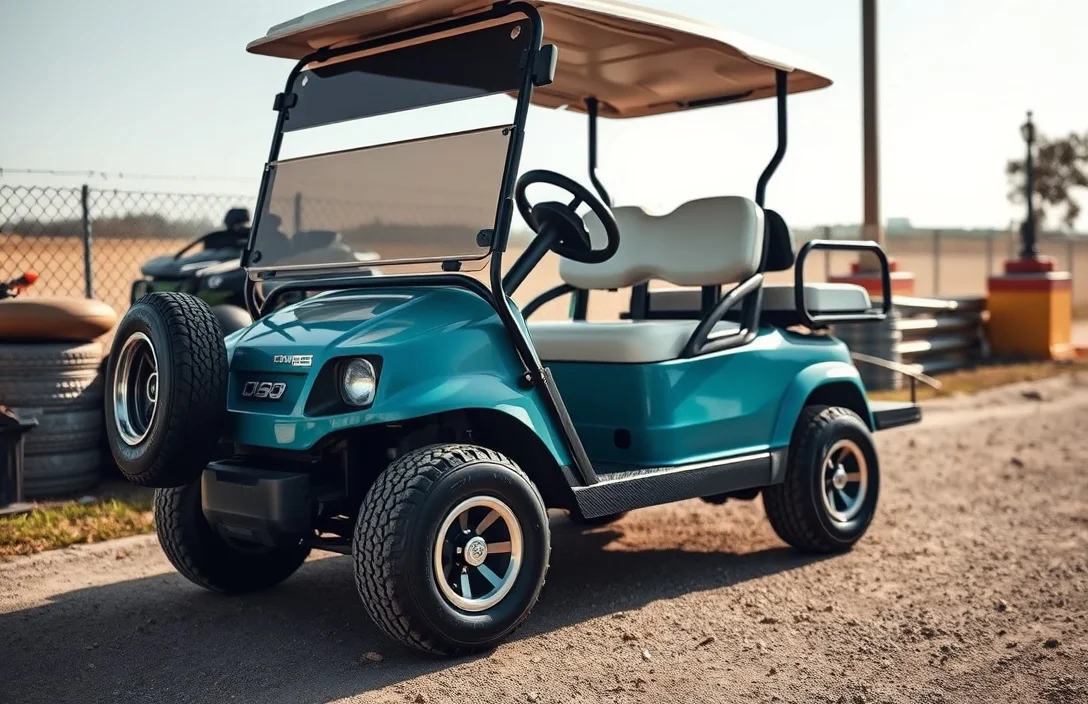
Drying times depend on paint type, temperature, and humidity, so plan for a full working day from base coat to final cure. Wait until each layer is tack-free and the surface feels firm to the touch before applying the next application; rushing increases the risk of runs, dust entrapment, and adhesion issues. Cure times beyond surface dry are needed for best durability, so protect the finish from dust and moisture during the full cure period.
Safety Precautions
Ventilation is essential to disperse paint fumes and solvents. Work in a well-ventilated area, ideally outdoors or in a garage with doors open and a fan pulling air away from you. Prolonged exposure can irritate the eyes, nose, and lungs and may trigger headaches.
Protective gear keeps exposure low. Wear a respirator appropriate for organic vapors, chemical-resistant gloves, eye protection, and a long-sleeve coverall or shop coat. Avoid cotton clothing that can absorb solvents; choose lint-free, chemical-resistant fabrics and ensure a proper fit.
Be aware of paint fumes and their effects. Early symptoms include throat irritation, dizziness, and nausea; stop work and move to fresh air if these occur. Keep ignition sources away from solvents and store containers in labeled, sealed rooms or cabinets away from heat and direct sunlight.
Disposal rules and local regulations matter. Follow guidelines for solvent disposal and never pour leftovers down drains or onto the ground. Use approved containers and recycling or hazardous waste programs as required by your area.
| PPE Item | Purpose | Notes |
|---|---|---|
| Respirator (organic vapor cartridges) | Protects lungs from solvent fumes | Ensure proper fit; replace cartridges per manufacturer guidance |
| Nitrile gloves | Protects skin from solvents | Change if compromised or after extended use |
| Goggles or face shield | Eye protection from splashes | Anti-fog and chemical splash rated |
| Coveralls or shop coat | Keeps solvents off clothing and skin | Prefer chemical-resistant fabrics; avoid loose lint fibers |
| Hearing protection | Reduces noise from sprayers and compressors | Use when operating loud equipment |
Keep fresh air moving through the workspace at all times and check ventilation efficacy before starting any painting session.
Impact on Battery Performance
Painting adds weight and can affect how heat travels around the battery pack. Lighter colors reflect sunlight, helping keep the pack cooler, while darker finishes absorb more heat, potentially raising cell temperatures during sunny days. Higher operating temperatures increase internal resistance and can shave a bit of usable capacity, while added weight reduces overall efficiency and range.
Troubleshooting Common Issues
Paint drips, uneven coating, and adhesion problems are the three most frequent issues when painting a golf cart. Each symptom has a clear cause and a practical fix you can apply without scrapping the job, provided you control material viscosity, ambient conditions, and surface prep.
Paint Drips
Symptom → Drips or runs appear on vertical surfaces, edges, or around decals after a spray or brush pass. These sag marks signal that the paint layer was too thick or the surface remained too wet when the next area was treated.
Cause → Paint thickness exceeded what the air and nozzle could dry, or the reducer ratio was off. A surface touched while wet also invites drips.
Fix → Apply thinner coats in multiple passes, adjust thinner to reach the recommended viscosity, and maintain a steady spray distance. Allow each coat to cure to a tack before the next, and if drips form, stop, let dry, sand drips with 400-600 grit, and recoat with thinner layers in smooth, overlapping passes. This approach helps keep the surface flat and minimizes further runs.
Uneven Coating
Symptom → The finish shows variations in sheen or color between panels, curves, or near attachments. This pattern often reveals inconsistent paint flow across the surface.
Cause → Inconsistent technique, variable distance or air flow, or uneven surface prep leading to poor paint flow.
Fix → Keep a uniform distance about 6-8 inches and maintain a constant speed, mix batches thoroughly, and sand the surface lightly between coats. Recoat with even passes and feather edges to blend the repair into the surrounding finish. If the area still looks uneven after the first attempt, go back to a fresh pass with the same thinning and airflow settings to restore uniformity.
Adhesion Problems
Symptom → The new paint lifts or peels from edges, decals, or repaired spots within days of application. This signals a bond failure between coats.
Cause → Contaminants on the surface, wax or silicone residues, or a primer and topcoat that do not bond to the substrate.
Fix → Clean the surface with a degreaser, remove wax residues, and use a compatible bonding primer for the material. Ensure full cure between steps and verify compatibility before coating; if lifting occurs, sand the area, re-prime, and recoat with proper technique. Maintain dry conditions during application to prevent moisture entrapment that can weaken adhesion.
Quick Summary
Painting a golf cart safely requires choosing low-VOC paints and proper ventilation to protect battery areas and wiring.
Frequently Asked Questions
How do I verify that a cordless paint sprayer battery and charger are compatible with painting a golf cart?
Check the labels on the sprayer and battery for matching voltage and chemistry. Matching voltage and chemistry ensures the charger, battery, and sprayer work safely together.
How long will a portable power station run a spray gun when painting a golf cart, and how can I estimate runtime?
Runtime is capacity in watt hours divided by the sprayer’s power draw in watts. Runtime = capacity (Wh) divided by tool (W), so a 600 Wh unit with a 300 W sprayer yields about 2 hours.
How much heat does a cordless sprayer battery generate during painting a golf cart, and how can I prevent overheating?
Batteries heat up under heavy current; monitor the battery temperature and stop if it feels warm. Stop and allow cooling before continuing, and avoid using a hot battery.
When should I replace the battery or charger used for painting a golf cart, and what buying mistakes should I avoid?
Replace the battery when it no longer holds a full charge under typical spray sessions or shows swelling. Swelling or loss of capacity are signs to replace, and avoid buying chargers not certified for your battery chemistry or voltage.
How can I plan for safety and cost when choosing a power option for painting a golf cart, including alternatives and common mistakes?
Plan around the job’s energy needs and choose a power option with enough Ah and a compatible charger; consider mains power, generator, or multiple charged packs as alternatives. Match energy needs to battery Ah and tool draw, and avoid cheap, unregulated adapters and off-brand chargers.