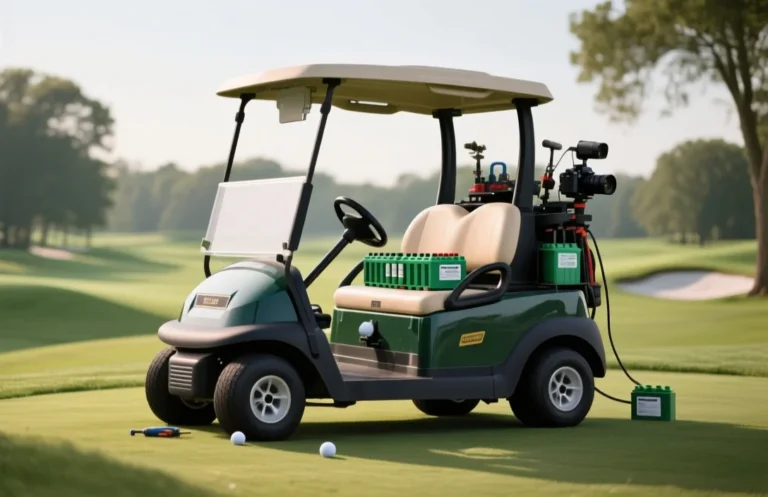
How To Refurbish Golf Cart Batteries?
Individual battery voltage is the single most important spec when refurbishing golf cart packs. A common mistake is charging the whole pack without testing each battery, which hides weak cells and can ruin a charger. First check the battery voltage label and measure each battery at rest, then confirm the charger output voltage and current setting.
Refurbishing golf cart batteries requires four steps: test each battery and cell with a voltmeter and hydrometer, clean and tighten terminals, perform a controlled equalizing or slow charge, and replace batteries or cells that fail voltage or gravity tests; verify over 1 to 3 charge/discharge cycles.
Safety First Checklist
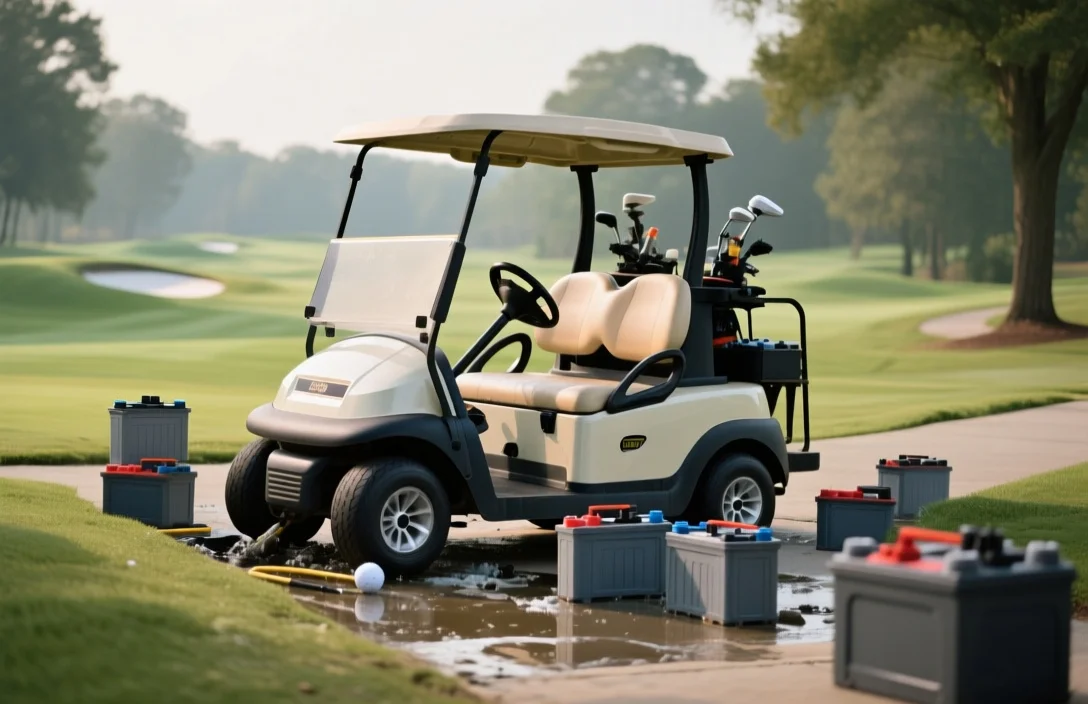
Refurbishing golf cart batteries involves concentrated sulfuric acid and the risk of hydrogen gas during charging, so you must use proper personal protective equipment, ensure strong ventilation, and follow safe disconnect, transport, storage, and disposal procedures. Failure to follow these steps can cause chemical burns, inhalation injury, fire, or legal and environmental problems.
When in doubt, consult the cart or battery manufacturer’s manual and local hazardous-waste authorities before you begin. Safety steps add time but cut the chance of injury, fire, and costly mistakes during refurbishment.
Battery Basics & Diagnosis
Golf cart packs are almost always made from lead-acid batteries (flooded wet-cell, AGM, or gel) wired in series to reach common nominal voltages like 36 volts or 48 volts; each battery has a printed nominal voltage and an Amp-hour rating (Ah) that you must read before attempting any refurbishment. Capacity in Ah tells you how many amps the battery can supply for one hour, and pack watt-hours equals nominal pack voltage times Ah, which you can divide by load watts to estimate runtime.
Start by reading every label on the batteries and the pack: nominal voltage, Ah, manufacture or date code, cell type (flooded, AGM, gel), and any service instructions. Note whether the battery has removable vent caps, that determines if you can top off water, and whether the pack includes a built-in battery management system.
For example, calculate runtime by multiplying pack voltage by Ah to get watt-hours, then divide by the load watts to estimate hours; this gives a practical way to judge whether refurbished capacity meets your needs. If your diagnosis shows heavy sulfation, cracked cases, persistent overheating, or safety hazards, seek professional service, because those conditions often need cell replacement, proper recycling, or specialized equipment that most DIYers do not have.
Tools & Materials Needed
You need five categories of gear to refurbish golf cart batteries safely: accurate electrical testers, electrolyte-handling tools, a charger or reconditioning unit that matches the battery voltage and chemistry, a basic mechanical toolset with replacement parts, and proper personal protective equipment plus cleaning supplies.
A reliable digital multimeter that reads DC voltage and has low-voltage resolution is essential, plus a dedicated battery load tester sized for 6V, 8V, or 12V golf cart strings so you can check voltage under load and detect weak cells. A handheld clamp ammeter is handy when you need to check charging current from the charger.
For electrolyte checks, a glass or plastic hydrometer that reads specific gravity is the standard tool, with an alternative refractometer for more precise readings and less spillage. Include a clear siphon pump or syringe, a funnel with a filter, and a supply of distilled water for topping cells.
Choose a smart charger or battery reconditioning unit that has selectable voltage and a desulfation or equalization mode made for flooded lead-acid batteries, and verify it matches the battery bank voltage before connecting. Avoid cheap “one-size-fits-all” desulfators; a quality charger with adjustable bulk and float stages reduces risk of overheating or overvoltage.
Essential hand tools are a medium socket set (deep sockets for battery studs), insulated wrenches, a terminal puller, wire brush, and nonmetallic cell caps or replacement vent caps. Keep replacement terminals, battery hold-down hardware, and a few spare cell covers on hand, and replace any part that is heavily corroded or cracked.
Safety first: acid-resistant gloves, splash goggles, a vinyl or rubber apron, and an acid-neutralizing agent such as baking soda are mandatory. Work outdoors or in a well ventilated area and have a bucket of distilled water and a first-aid plan for acid exposure.
| Item | Amount / Specification | Notes |
|---|---|---|
| Digital multimeter | 1, 0.1V DC resolution | Measure open-circuit and charging voltages |
| Battery load tester | 1, rated for 6 – 12V lead-acid | Check voltage under simulated load |
| Hydrometer or refractometer | 1 per refurbishment kit | Hydrometer reads specific gravity; refractometer is cleaner |
| Smart charger / reconditioner | 1, selectable voltage, lead-acid modes | Must match total bank voltage and chemistry |
| Distilled water, funnel, siphon | Several liters, plastic funnel, pump | Use only distilled water for topping cells |
| Hand tools & replacement parts | Socket set, terminal wrench, brushes, spare terminals | Replace cracked caps and badly corroded terminals |
| PPE & cleaning supplies | Gloves, goggles, apron, baking soda | Mandatory for electrolyte handling |
| Electrolyte transfer pump | 1, plastic hand pump or syringe | Reduces splashes and cross contamination |
Testing Batteries Step-by-Step
Testing determines which golf cart batteries can be refurbished and which must be replaced by establishing voltage, individual-cell condition, and real capacity under load. Follow a clear sequence: inspect and clean, measure open-circuit voltage after a full charge and rest, run load and capacity tests, check specific gravity on flooded cells, and log results to define pass/fail actions.
For example, note any cell with SG much lower than its neighbors, or a battery whose post-rest OCV is far below nominal; those are immediate fail indicators and should not be reinstalled without repair. Recordkeeping makes follow-up refurbishment choices practical and defensible.
Common Refurb Techniques
Refurbishing golf cart lead acid batteries can return meaningful capacity when problems are simple, like low electrolyte, mild sulfation, or cell imbalance. Severe plate damage, cracked cases, or cells that fail load and conductance tests are usually not worth repairing and can be hazardous.
Bottom line: Start with safe, low-risk steps like proper watering and checking voltages, then try conservative equalization or electronic desulfation for mild issues. If cells are physically damaged, heavily sulfated, uneven on load, or fail basic tests, replace rather than risk an unsafe repair.
Charger Compatibility & Charging
Use a charger that matches the total pack voltage and can be set to a controlled, low current for reconditioning; the wrong voltage or too-high current will cause heat, gassing, and permanent damage. For refurbishing, a multi-stage charger with adjustable bulk, absorption, and float stages plus temperature compensation gives the best control over cell recovery and long-term life.
For small repairs, bench charging individual batteries gives precise control and allows hydrometer checks and cell-level maintenance. For convenience, on-cart chargers work but give less access to individual batteries and can mask weak cells, so use them only when you can still monitor each battery’s voltage and temperature.
Safety reminder: Always disconnect the pack, wear eye and acid-resistant protection, use insulated tools, and stop reconditioning if batteries swell, overheat, or emit strong fumes. If you are unsure at any step, consult the battery manufacturer’s manual or a qualified technician before continuing.
When to Replace Instead
Replace a golf cart battery pack when one or more cells are physically damaged, multiple cells show permanent low voltage under load, or capacity has fallen to roughly half and charging/refurb costs approach the price of a new pack. Continuing to refurbish in those cases increases safety risk and often gives only a short extension of useful life.
Non-repairable failure indicators include obvious physical damage, cracked or warped cases, melted terminals, flooded cells that leak, and evidence of internal shorting where individual cell voltages do not recover after charging. If more than one cell is sulfated or exhibits a flat voltage that does not respond to equalization or controlled desulfation, the pack is usually beyond practical repair.
Economic life and cost trade-offs favor replacement when refurbishment costs plus expected remaining maintenance exceed the value of a reliable new pack. Refurbishing makes sense when a few cells fail, labor and replacement cells are inexpensive, and you can reasonably expect several seasons of service. If parts and labor near the cost of new, choose replacement for reliability and warranty coverage.
| Refurbish (cell replacement) | Replace (new lead-acid) | Replace (new lithium, if compatible) | |
|---|---|---|---|
| Typical trigger | One or two failed cells, uneven capacity | Multiple failed cells, cracked case, severe sulfation | Repeated failures, need longer life, weight reduction |
| Relative cost | Low to moderate | Moderate to high | High upfront, lower operating cost |
| Time to restore | Hours to a day | Same day to few days | Days, may need charger and controller changes |
| Expected life after | Partial to moderate extension | Full rated life | Longer cycle life, different charging needs |
| Warranty | Often none or limited | Manufacturer warranty | Manufacturer warranty, may exclude retrofit installs |
| Safety risk | Moderate if done correctly | Low | Low but requires proper BMS and charging |
If repair parts and labor approach half the cost of a new pack, replacement is usually the smarter, safer choice.
Warranty and legal notes: Repaired packs often lose manufacturer warranty coverage, and converting chemistries, for example to lithium, can affect vehicle controls and warranty. Check the cart maker’s guidance and local regulations before converting or installing non-original packs.
Recycling and disposal: Do not toss old batteries in regular trash. Return lead-acid batteries to retailers, take them to municipal hazardous waste centers, or use certified recyclers. For lithium conversions, follow hazardous battery recycling rules and keep documentation for transport.
Quick Summary
You can often refurbish a golf cart battery pack by testing, recharging, and replacing weak cells or correcting charging settings.
Frequently Asked Questions
How do I know which charger and cells are compatible when refurbishing golf cart batteries?
You can match compatibility by checking the pack voltage and chemistry on the battery label; many carts use 6 V flooded lead-acid cells in series, so buy cells and a charger that match the pack voltage and chemistry and size the charge current to about 10% of the battery Ah (C/10).
How hot is normal during charging and when should I stop the refurbishing process?
You can expect mild warmth during charging, but stop charging and inspect if any battery surface exceeds 50 degrees C (122 F) or if you observe obvious swelling, leaking, smoking, or a strong sulfur smell.
How can I estimate the runtime after I refurbish the batteries?
You can estimate runtime by dividing usable amp-hours by the cart’s current draw; for example, a bank with 100 Ah usable capacity at 36 V stores about 3.6 kWh, so a 500 W draw would run roughly 7 hours (3600 Wh / 500 W).
What safety steps should I take when refurbishing golf cart batteries?
You can protect yourself by working in a well ventilated area, wearing eye protection and acid resistant gloves, disconnecting the pack before you work on cells, and keeping sparks or flames at least 2 meters away.
What common buying mistakes should I avoid when replacing cells or buying a refurbished battery?
You can avoid mistakes by verifying voltage, amp-hour rating, terminal layout and a date code, and if the age is unknown avoid packs with cells older than 5 years or with no cycle history from the seller.